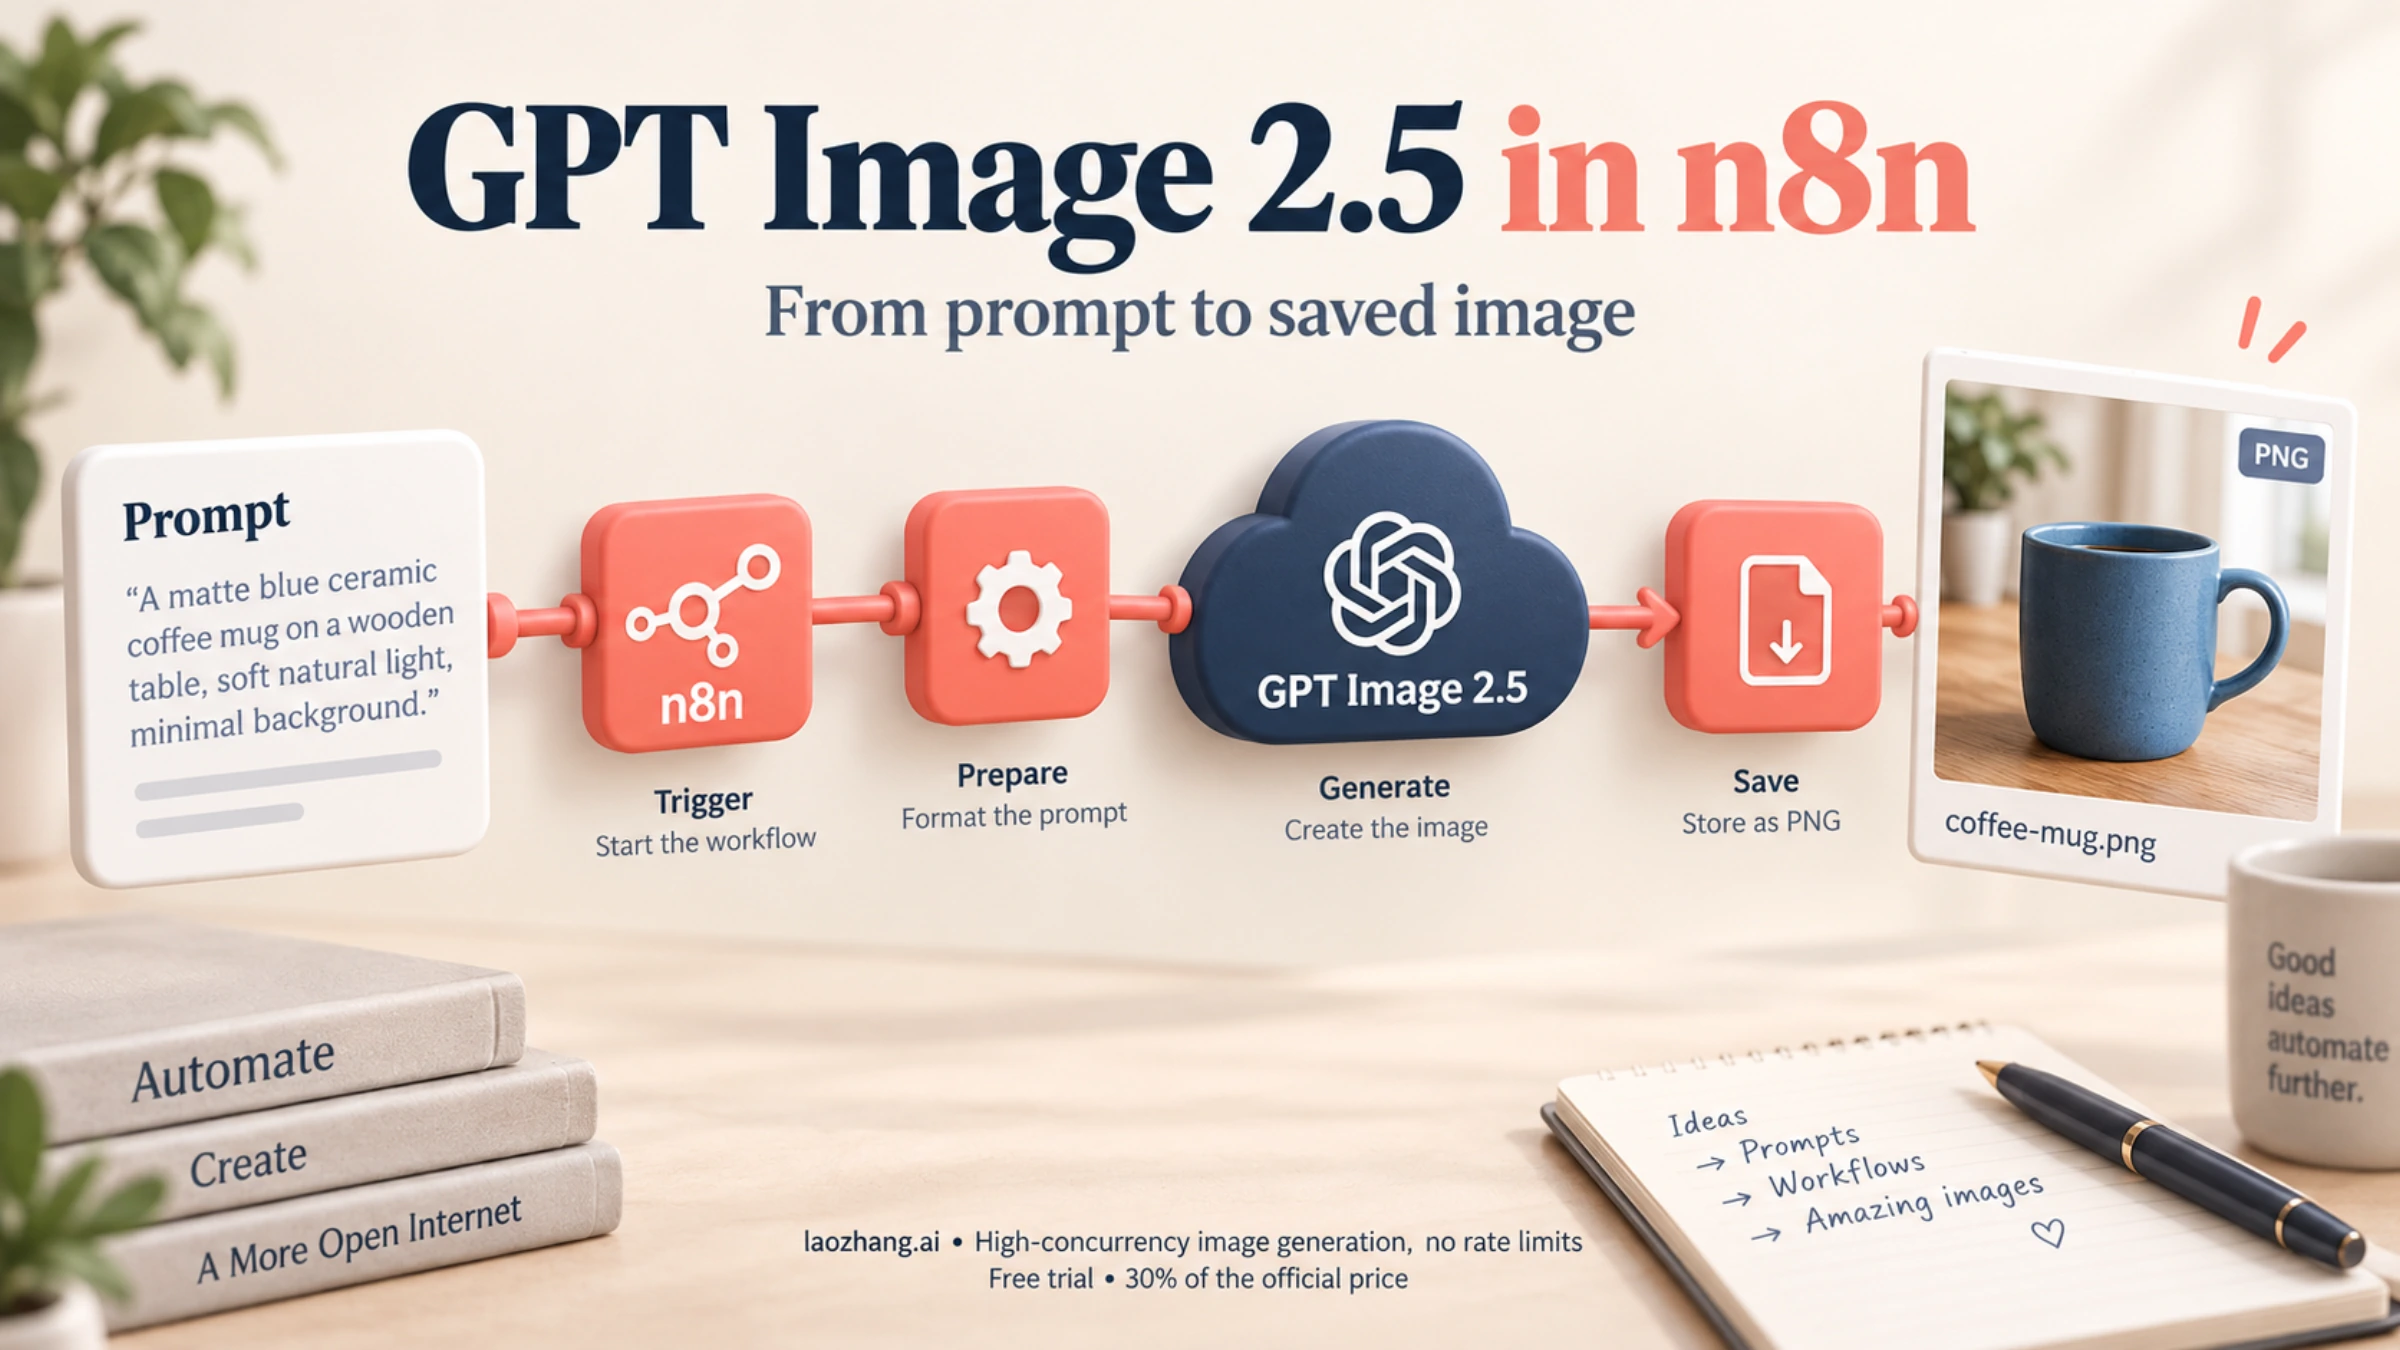
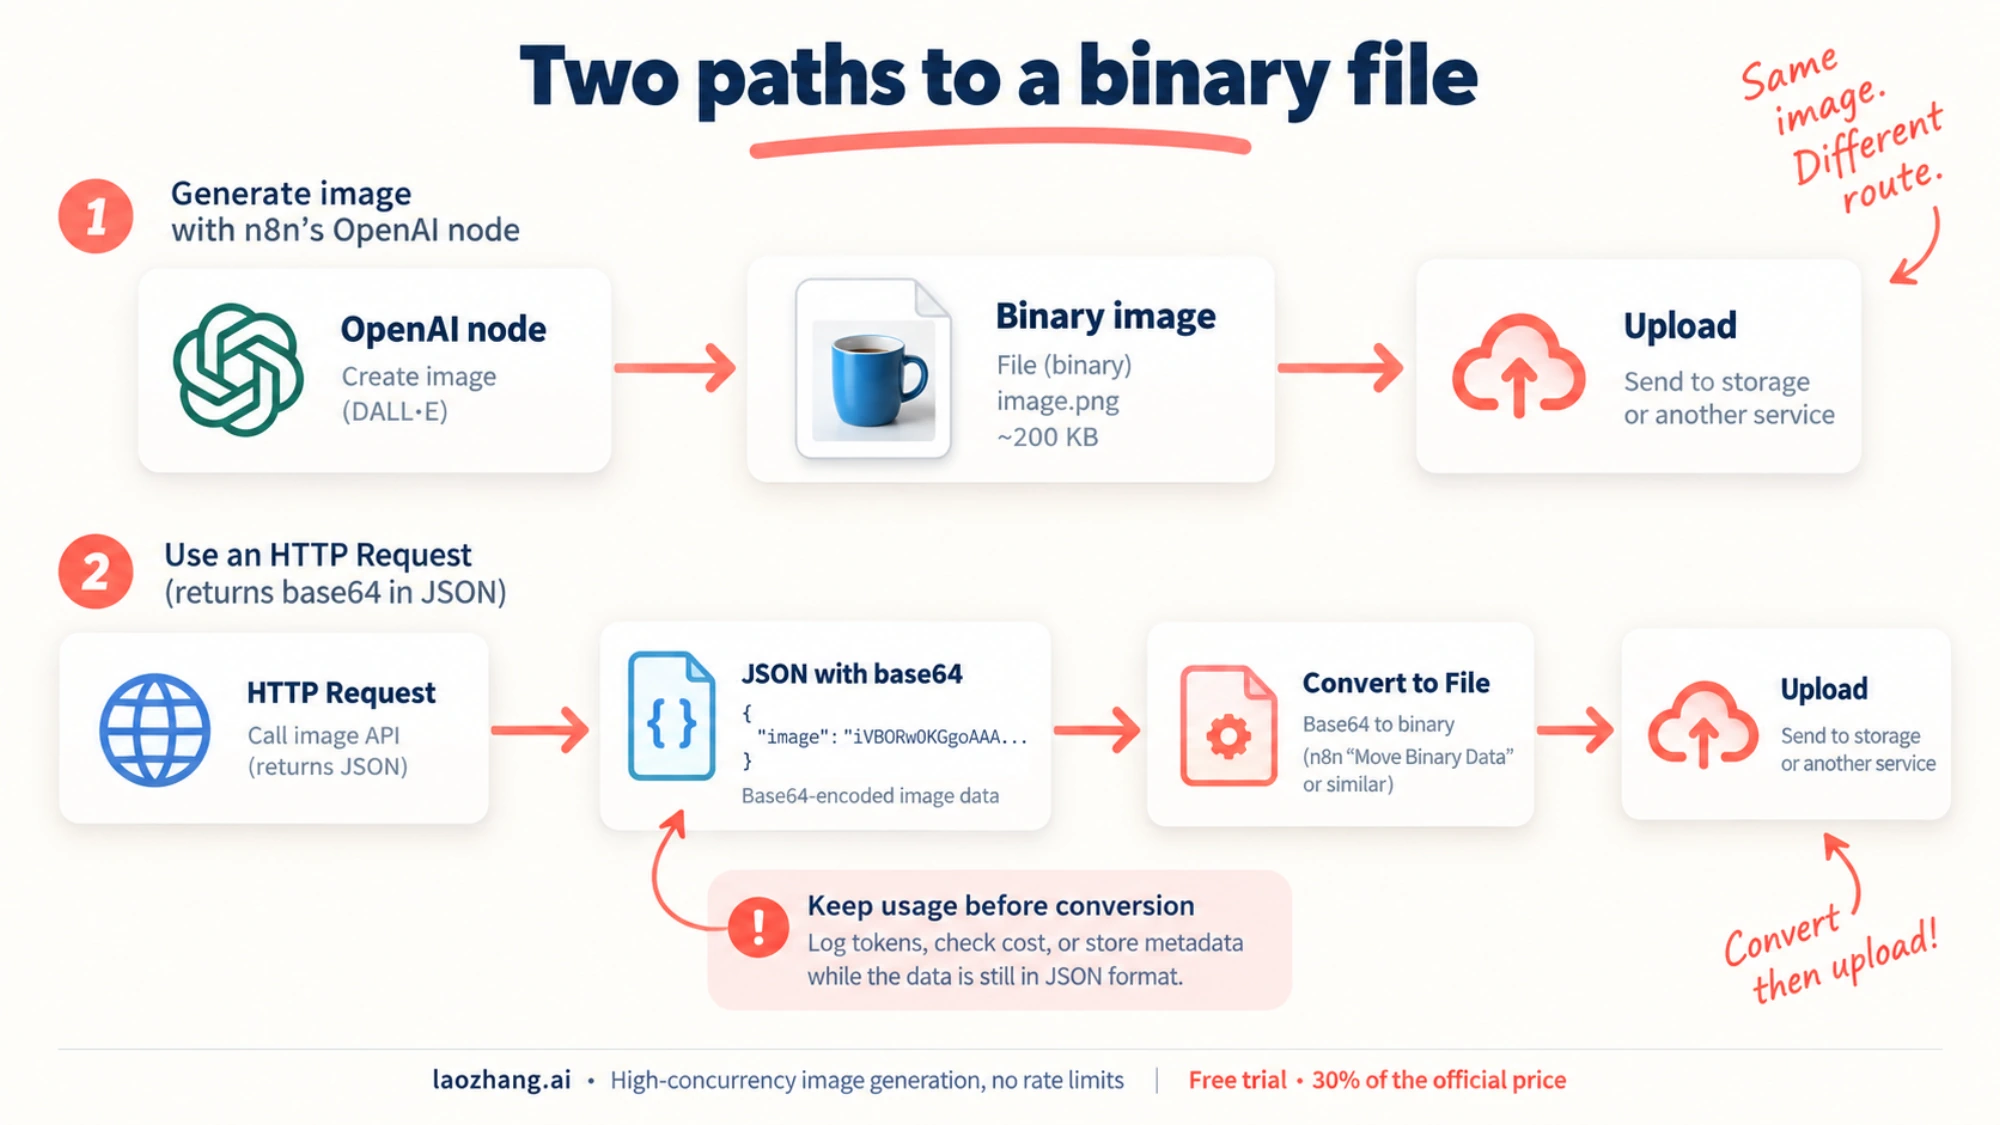
Start with n8n's OpenAI image operation if your installed node exposes the model and settings you need. Use HTTP Request when you need direct control of the request or want to retain the API's usage response. Both paths can produce a file for the next node. The difference is that the native node already decodes the image, while the HTTP path below returns JSON that you convert to a binary file.
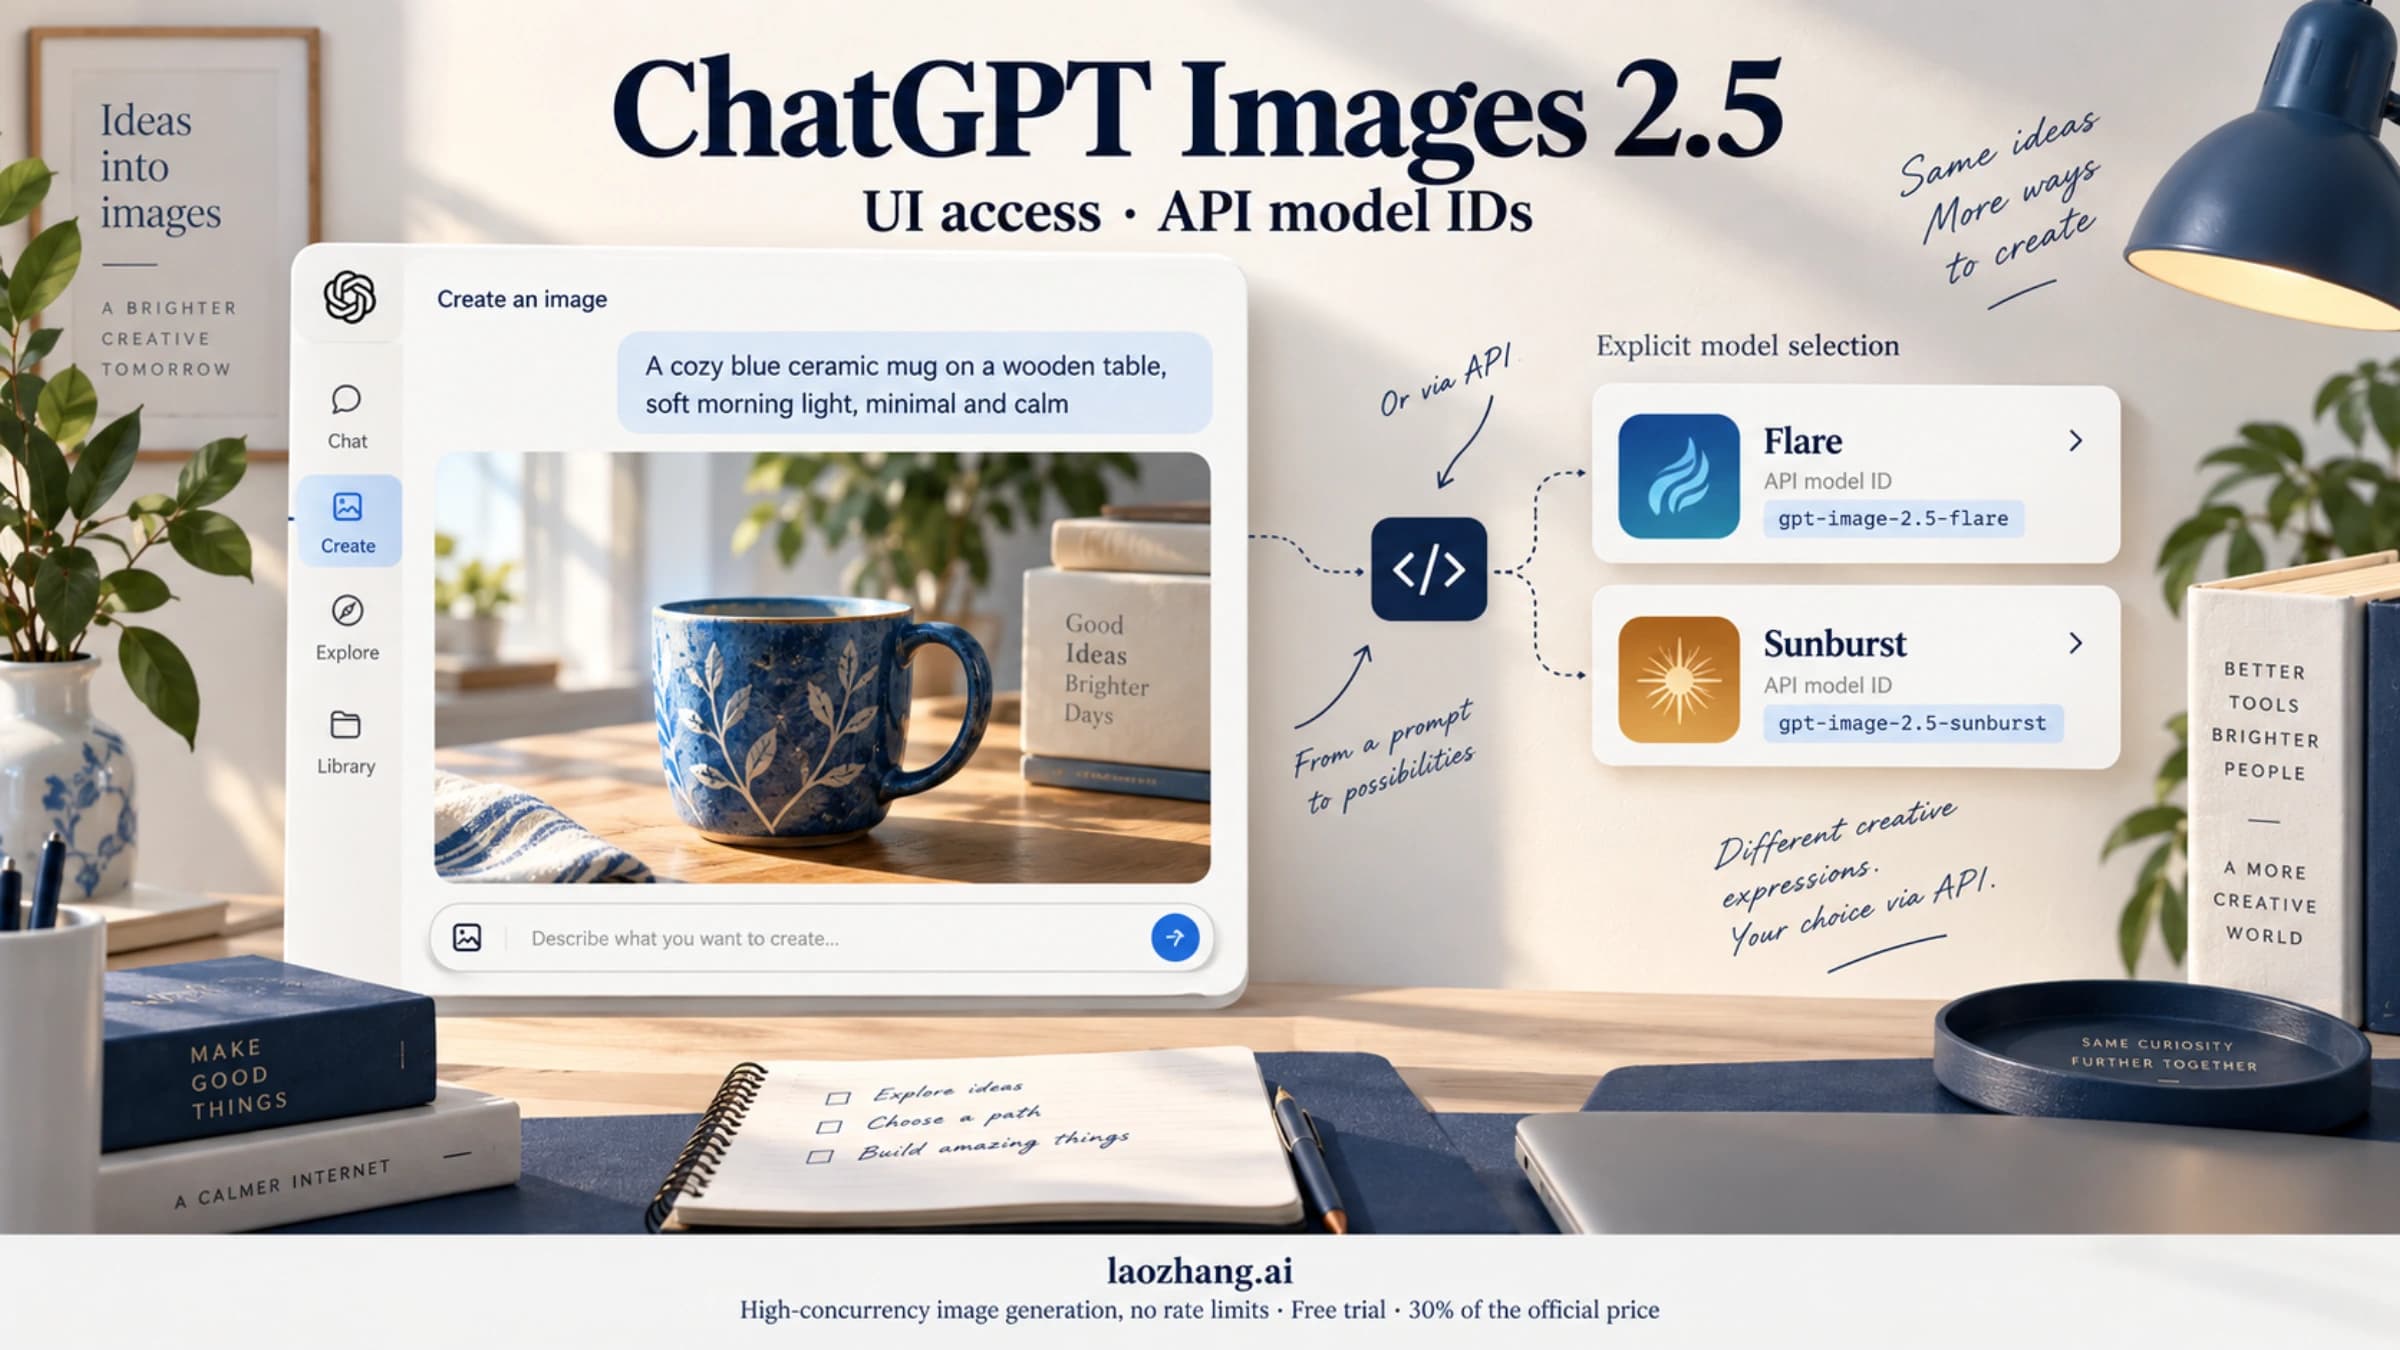
The two model IDs are gpt-image-2.5-flare and gpt-image-2.5-sunburst. Flare emphasizes speed; Sunburst emphasizes precise editing. Both support generation and editing. Use one of those exact IDs rather than assuming gpt-image-2.5 is a valid alias. OpenAI Flare documentation, Sunburst documentation
This guide uses documentation and public source code checked on September 21, 2026. The configuration examples have not been executed in a live n8n installation or tested with a paid image request.
Check the native OpenAI node first
Add an OpenAI node, choose Image, then Generate an Image. Configure your OpenAI credentials and inspect the model selector. If your installed node offers the appropriate model, select it and enter a prompt. Use a single square image for the first check so that downstream file handling is easy to inspect. The output binary property defaults to data. n8n image operations
There is a reason older tutorials show a different model list. In the public implementation reviewed for this guide, OpenAI node versions below 2.2 use a static list, while versions 2.2 and later use a dynamic modelId selector. This is the node's typeVersion, not the n8n application's version number. The installed release, account access, and service still determine what you can select and run. n8n generate operation source
Do not conclude that GPT Image 2.5 is unsupported just because a documentation page still describes DALL·E options. Conversely, a newer selector does not guarantee access to every model. If the exact model or a required parameter is unavailable, check your installed node and release before switching to the HTTP configuration below.
After a successful native operation, inspect the Binary output and confirm that the image opens. Pass the actual binary property name to the upload or storage node. Do not run Move Base64 String to File on this output again: the native operation has already decoded it.
One limitation matters for cost tracking. A public issue reports successful Flare generation in n8n 2.38.6 with OpenAI node typeVersion: 2.3, but missing image usage in Evaluations/Insights. The reviewed implementation extracts data from the API response and does not preserve usage. This is a reported environment and a source-code observation, not a guarantee about every release. Missing usage does not mean the image was free. n8n issue #38482
Build an HTTP Request that returns image JSON
A small workflow is enough:
Manual Trigger → HTTP Request → Edit Fields → Convert to File → your storage node
Use a plain API request for this task; an AI Agent is unnecessary unless the wider workflow actually needs one to decide what to do. Configure HTTP Request as follows:
| Setting | Value |
|---|---|
| Method | POST |
| URL | https://api.openai.com/v1/images/generations |
| Authentication | An OpenAI credential supported by your installation, or a Header Auth credential |
| Header Auth name | Authorization |
| Header Auth value | Bearer YOUR_OPENAI_API_KEY, stored in the credential |
| Send Body | Enabled |
| Body Content Type | JSON |
| Response Format | JSON |
| Include Response Headers and Status | Off for this example |
Keep the real key in n8n credentials. Do not put it in the JSON body, a prompt, or a shared workflow export. The endpoint returns JSON containing the image's base64 data, so choosing File as the HTTP response format is the wrong starting point for this example. HTTP Request documentation
Use this body:
json{
  "model": "gpt-image-2.5-flare",
  "prompt": "A studio product photograph of a matte blue ceramic coffee mug on a warm gray background, soft side lighting, no text.",
  "size": "1024x1024",
  "quality": "medium",
  "output_format": "png"
}
These are documentation-based example settings. Replace the model with gpt-image-2.5-sunburst when evaluating that model. Keep the prompt and other settings unchanged if you want a meaningful comparison. The direct Images API supports these model IDs and the generation endpoint; its documented response includes data[0].b64_json. OpenAI image generation guide
Do not add an old DALL·E response_format: "url" setting to this example. Also avoid copying a Responses API tools object into the Images request: those are different request schemas.
Turn the response into a file the next node can use
First inspect the HTTP Request output. A successful response should contain a nonempty data array with the image data. Route an error or missing-image response to an error branch before attempting conversion; an HTTP response alone is not proof that a usable image arrived.
In Edit Fields, create a string field named image_base64 using this expression:
javascript{{ $json.data[0].b64_json }}
That expression assumes the body-only output used above. If you enable Include Response Headers and Status, the response body is nested, so use:
javascript{{ $json.body.data[0].b64_json }}
Then configure Convert to File:
| Setting | Value |
|---|---|
| Operation | Move Base64 String to File |
| Base64 Input Field | image_base64 |
| File Name | generated-image.png |
| MIME Type | image/png |
Base64 Input Field expects a field name. Enter image_base64, not the encoded string itself. This explicit intermediate field also makes it easier to see whether the HTTP response mapping is correct. Convert to File documentation
Inspect the converter's Binary output, note its property name, and open or download the file. Set your destination node's input binary field to that exact property name. If you later request JPEG or WebP, change the filename extension and MIME type to match; renaming a PNG does not convert it.
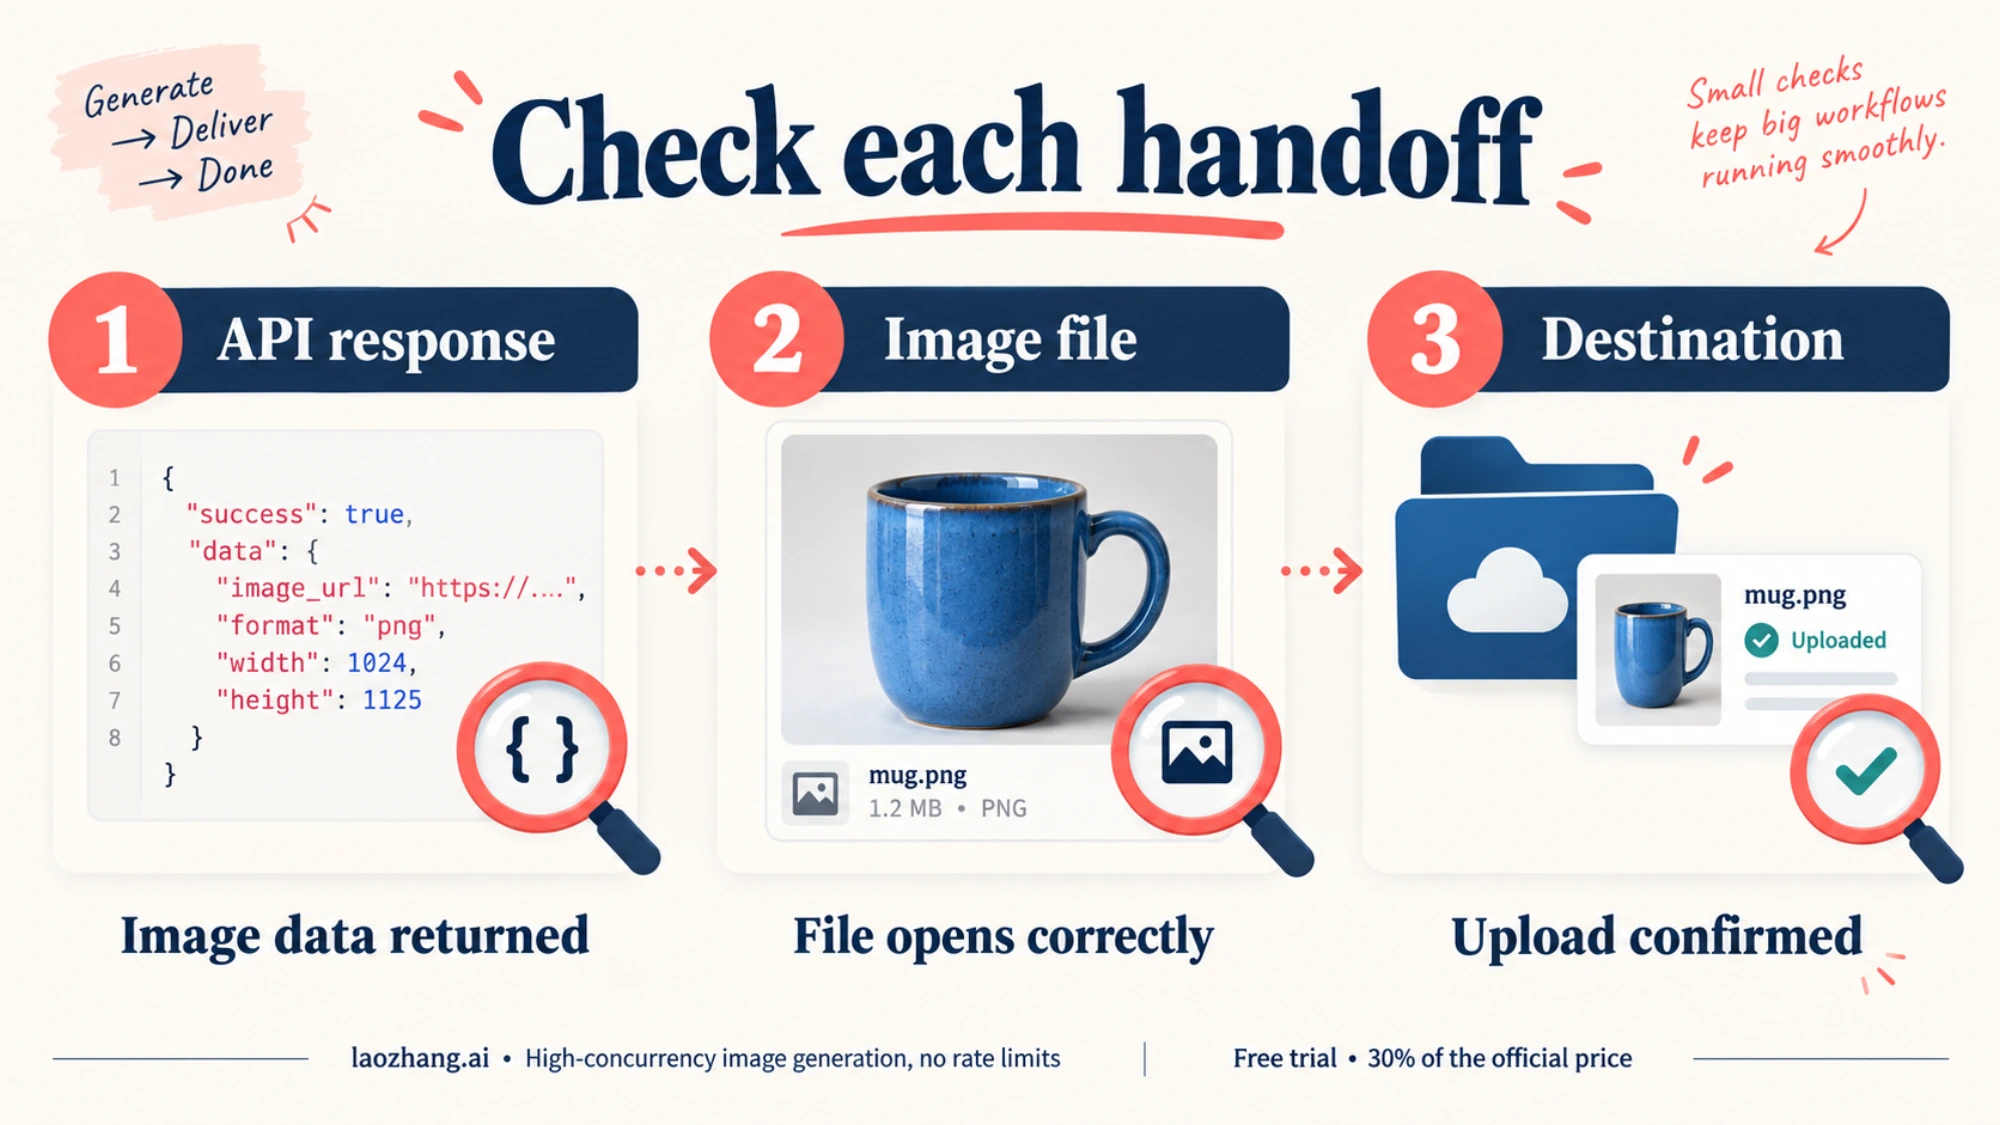
Treat these as three separate checks: the image API returned image data, n8n produced an opening image file, and the destination confirmed the upload. Only the last step establishes delivery. Once that chain works for one image, introduce dynamic prompts, additional items, or scheduled triggers.
Keep usage data before simplifying the response
If cost reporting matters, retain the raw response or copy its usage object into a separate record before Edit Fields removes anything. With body-only output, inspect $json.usage; with the response wrapper, inspect $json.body.usage. Record usage only when it is actually returned. Do not turn a missing object into a numeric zero.
A useful run record associates the workflow item with the requested model, size, quality, returned usage, timestamp, and destination identifier. This lets you distinguish a paid generation from a failed upload and avoids regenerating an image merely because its delivery step failed. The API response and your provider's billing records remain the relevant evidence for charges; the workflow's execution count is not a universal image price.
For batch work, add retry rules deliberately. A timeout does not prove that no image was generated or billed. n8n's HTTP timeout setting is documented in milliseconds for the server to send response headers and start the body; it is not a promise about total image-generation time. HTTP Request options
Editing an image requires a file input
The generation request above starts from text. For editing, use /v1/images/edits and supply an input image. In HTTP Request, choose Form-Data and add the image as an n8n Binary File parameter. Its Name is the API's multipart field name, while Input Data Field Name identifies the binary property already present on the incoming n8n item. Those fields describe different things. OpenAI editing guide, n8n multipart configuration
For a single-image request, map the API image part to image and map its input data field to the property containing your uploaded file, such as data. Add text fields for the model and prompt, plus the supported output settings you need. Let n8n set the multipart boundary; do not manually force a bare Content-Type: multipart/form-data header.
Before connecting the edit request, open the incoming binary file. If there is no file at that property, changing the model or prompt will not fix the request. If your native OpenAI node exposes the editing operation and all required inputs, you can use it instead; the same distinction between the API image and n8n's binary property still applies.
Diagnose the point of failure
| What you observe | What to inspect next |
|---|---|
| Model missing from the native node | Installed node typeVersion, selector, account access, and release; then consider HTTP Request |
| Authentication failure | The credential used by this endpoint, rather than the prompt or binary converter |
| HTTP success but no image file | Actual response shape and b64_json, then the converter's input field name |
| Native node image exists but conversion fails | Remove redundant base64 conversion and use the native binary output |
| Storage node says the file is missing | Incoming binary property name and the destination node's input setting |
| Image usage absent from Insights | Preserve the raw HTTP response or check whether the installed native operation retains usage |
You can automate image generation directly from n8n without installing ComfyUI. If a larger system does call a ComfyUI workflow, verify that workflow's authentication and completion behavior separately. Older community tutorials for local models do not establish that the same workflow forwards the credentials required by newer ComfyUI Partner Nodes.