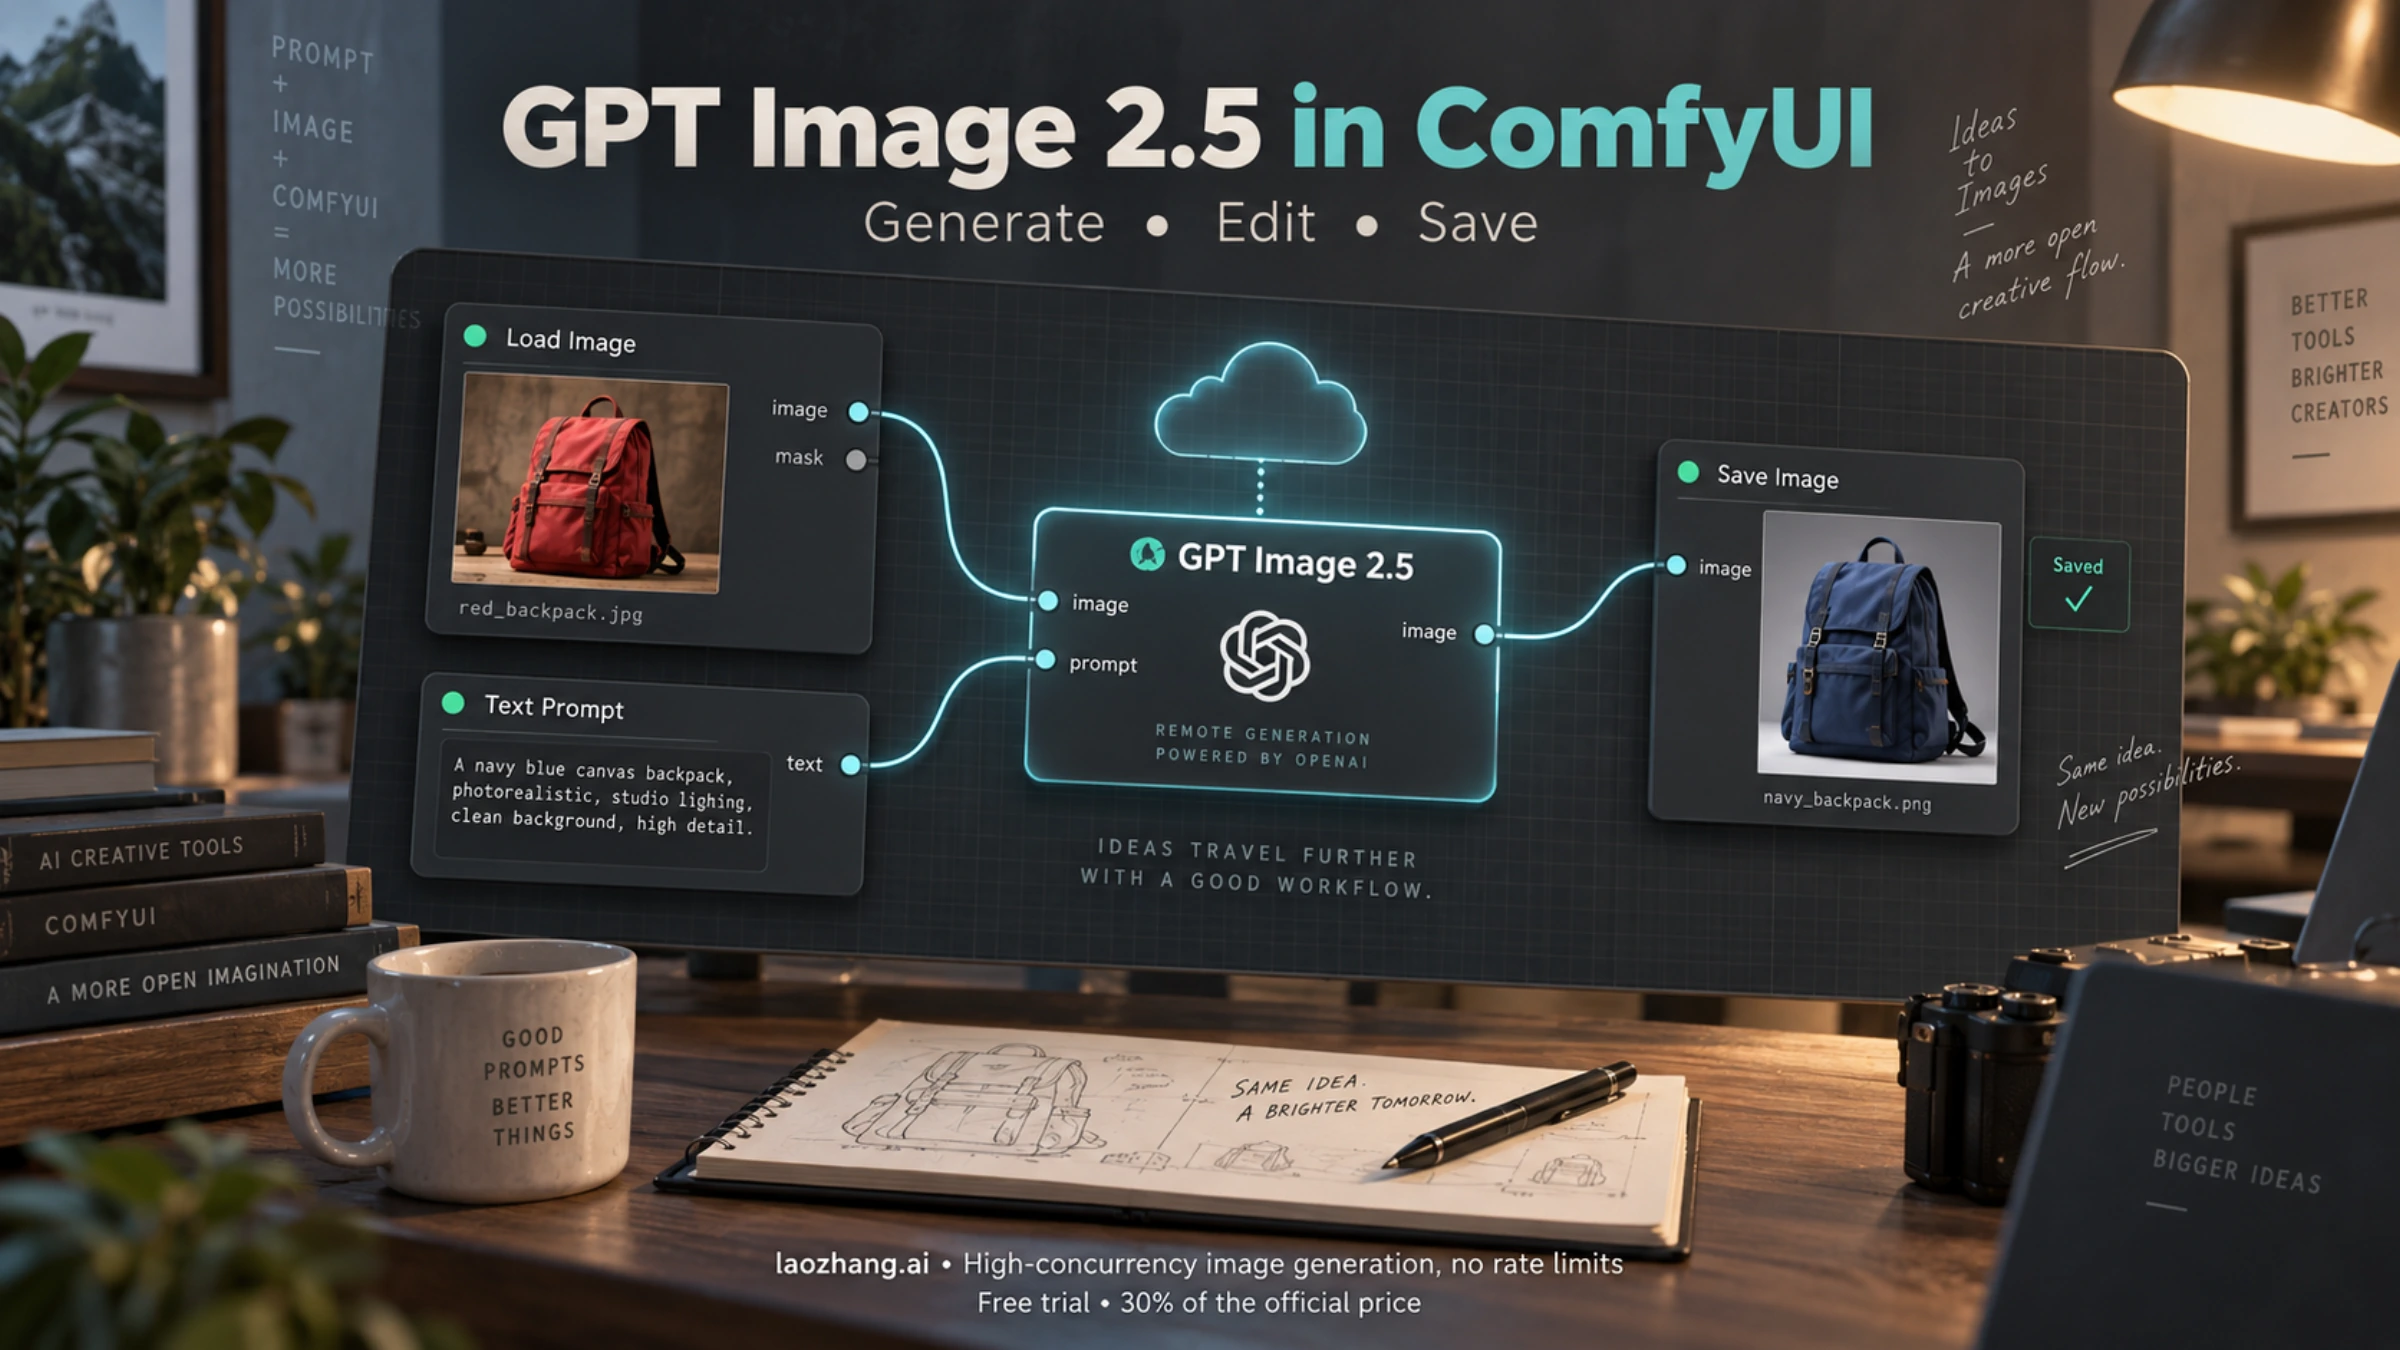
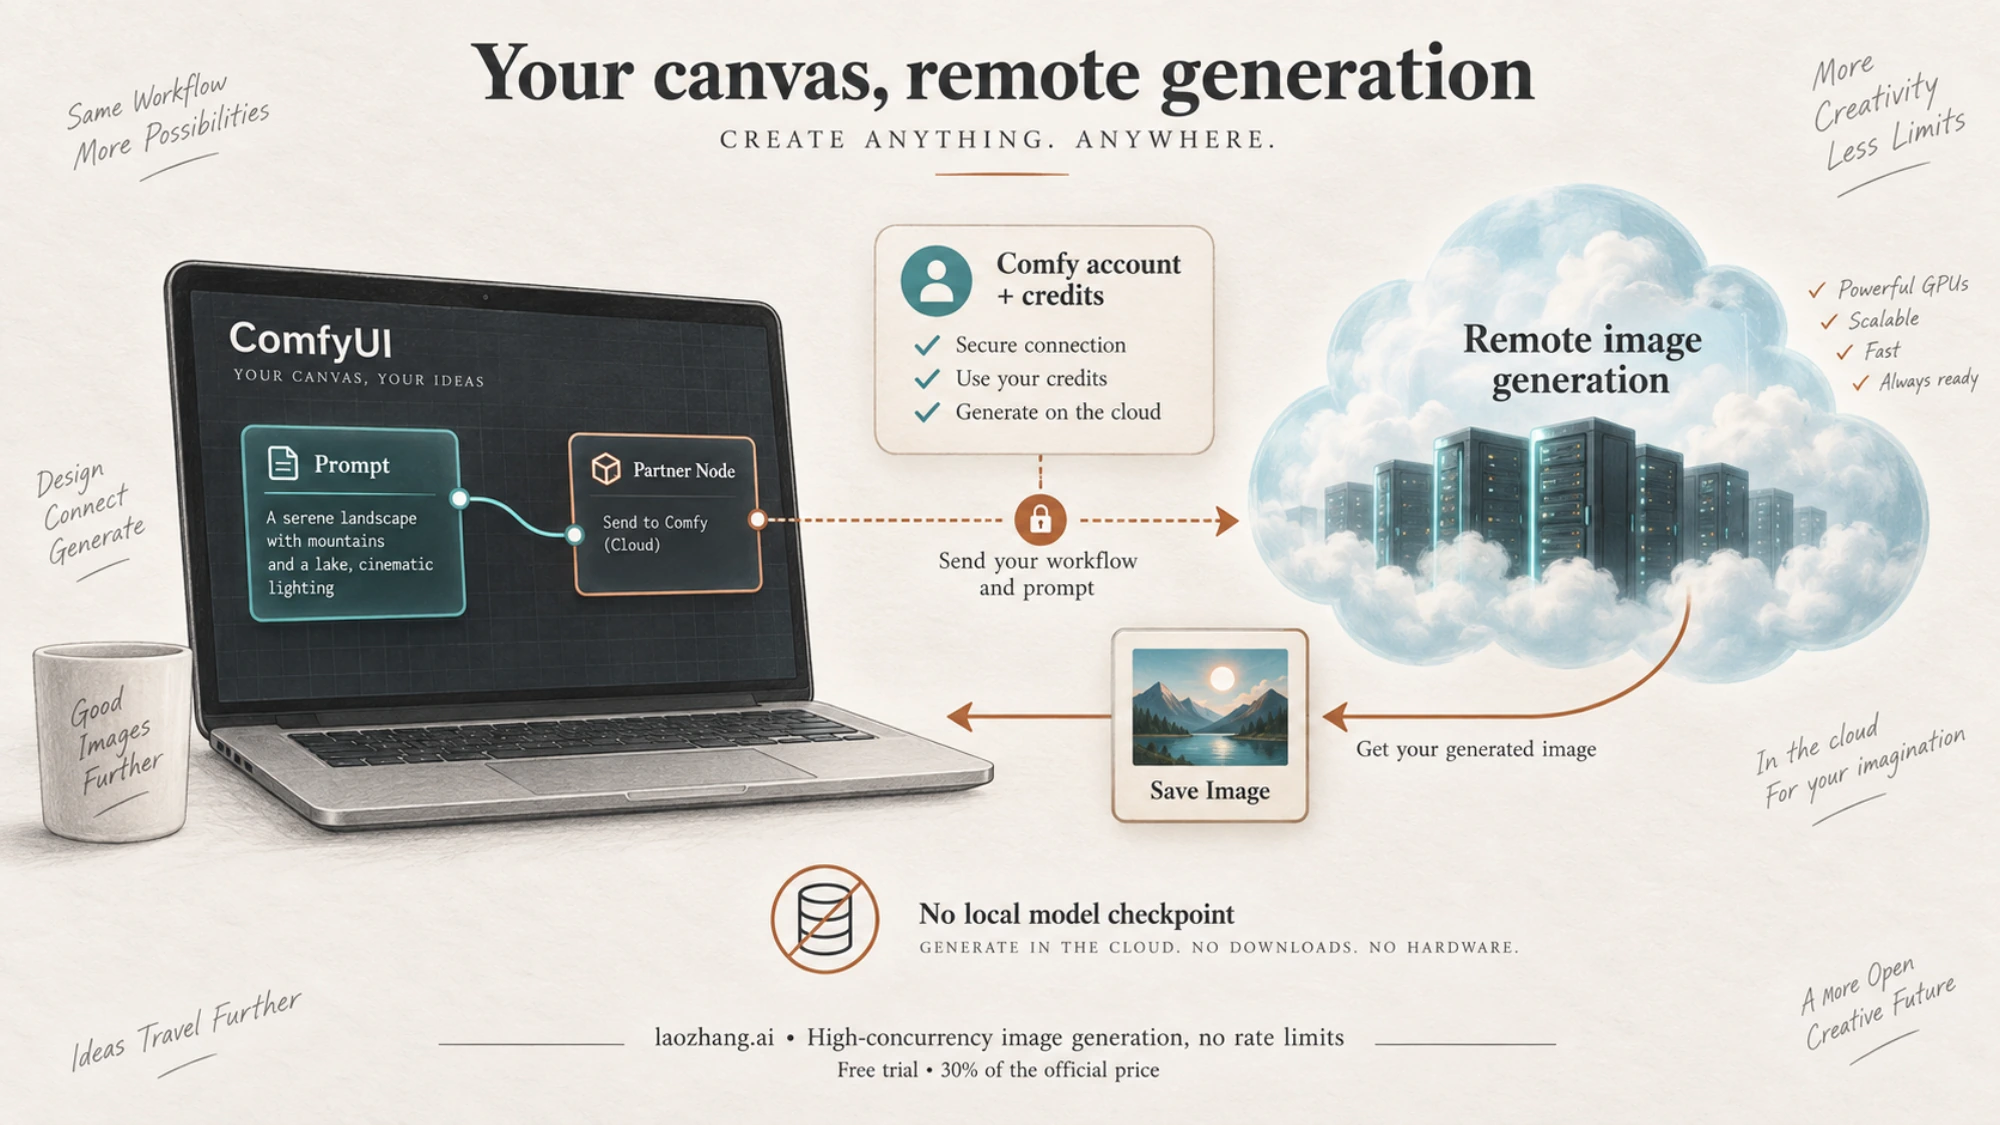
ComfyUI has an official OpenAI GPT Image 2.5 Partner Node for both Flare and Sunburst. Start with the official template, sign in to a Comfy account with credits, and connect the node's image output to Save Image. The model runs remotely: there is no GPT Image 2.5 checkpoint to download into your local models folder. The official guide specifies ComfyUI 0.35.0 or later. ComfyUI GPT Image 2.5 guide
The setup below follows official documentation and the public node implementation checked on September 21, 2026. We have not run a local installation or paid generation test. Template availability and the exact controls in your installed release may differ from the current source.
Get the official node and the right account
Use the generation or editing templates linked from the official ComfyUI guide. The node is displayed as OpenAI GPT Image 2.5; its internal ID is OpenAIGPTImageNodeV2. This official route does not require an unrelated custom-node package with a similar name.
If loading a template shows an unknown node, check the installed ComfyUI version and update through the method appropriate to your installation. The latest source or nightly can contain a node before it appears in your stable release. Installing a random community extension is not a reliable fix for a missing official Partner Node.
Authentication is the next separate step. Open Settings → User to sign in and Settings → Credits to check your balance. Partner Nodes require a Comfy account and a credit balance above zero. For access from the same computer running ComfyUI, the documented local login flow is available. For a LAN address or a site outside the supported login domains, the documentation describes a ComfyUI Account API Key. Partner Node account requirements
| What you have | What it means for this official node |
|---|---|
| Comfy account with credits | The account and billing system used for Partner Nodes |
| ComfyUI Account API Key | An account credential for the documented access situations |
| OpenAI API key | A credential for direct OpenAI API calls; not a substitute for the Comfy account setup |
| Third-party image-provider key | A credential for that provider's service; not automatically accepted here |
| ChatGPT subscription | A separate product subscription, not Comfy credits |
| Comfy registry publishing key | A publishing credential, not the account key described above |
In the reviewed implementation, the node uses Comfy authentication and a proxied image endpoint. It does not expose a general-purpose field for replacing the base URL with any provider. If your goal is specifically to use an OpenAI or gateway key, choose an integration documented for that service rather than pasting it into the Comfy account field. Official node source
Generate one image and confirm the saved result
Begin with the text-to-image template and leave reference-image inputs disconnected. In the current implementation, no reference image selects image generation; connected references select editing. The model choices are gpt-image-2.5-flare and gpt-image-2.5-sunburst. Node implementation
For a small first request, choose a square 1024x1024 output, medium quality, and n = 1. A sample prompt could be:
“A studio product photograph of a red canvas backpack standing upright on a pale gray background. Show the whole bag, including its straps. Soft side lighting, no text.
These are suggested setup values, not results from a test. Connect the node's IMAGE output to Save Image, then run the workflow. Confirm that the output appears and that you can open the saved file. A valid graph and a queued request do not by themselves establish that an image was saved.
Flare is positioned around speed, while Sunburst emphasizes precise editing; both can generate and edit images. Those descriptions help choose a starting point but do not predict which will satisfy your particular prompt. Our Flare versus Sunburst comparison discusses that choice. For the current model definitions, see OpenAI's Flare page and Sunburst page.
The reviewed ComfyUI node offers low, medium, high, xhigh, and max quality and allows n from 1 to 8. Do not assume the direct API's options will all appear under the same names in this node. Keep the first run small, then change one relevant setting at a time so you can judge what the change buys you. Node input definitions
Edit with reference images, then add a mask if needed
For an edit, load a reference image and connect its image output to the Partner Node. Write the prompt as a change request and name the details that should remain. For the backpack example:
“Change the red canvas to deep navy blue. Keep the bag's shape, straps, seams, camera angle, lighting, and gray background unchanged.
That prompt expresses the intended edit; it does not guarantee exact preservation. Inspect the saved output at the seams, edges, and other details that matter to the task, rather than judging only whether the overall color changed.
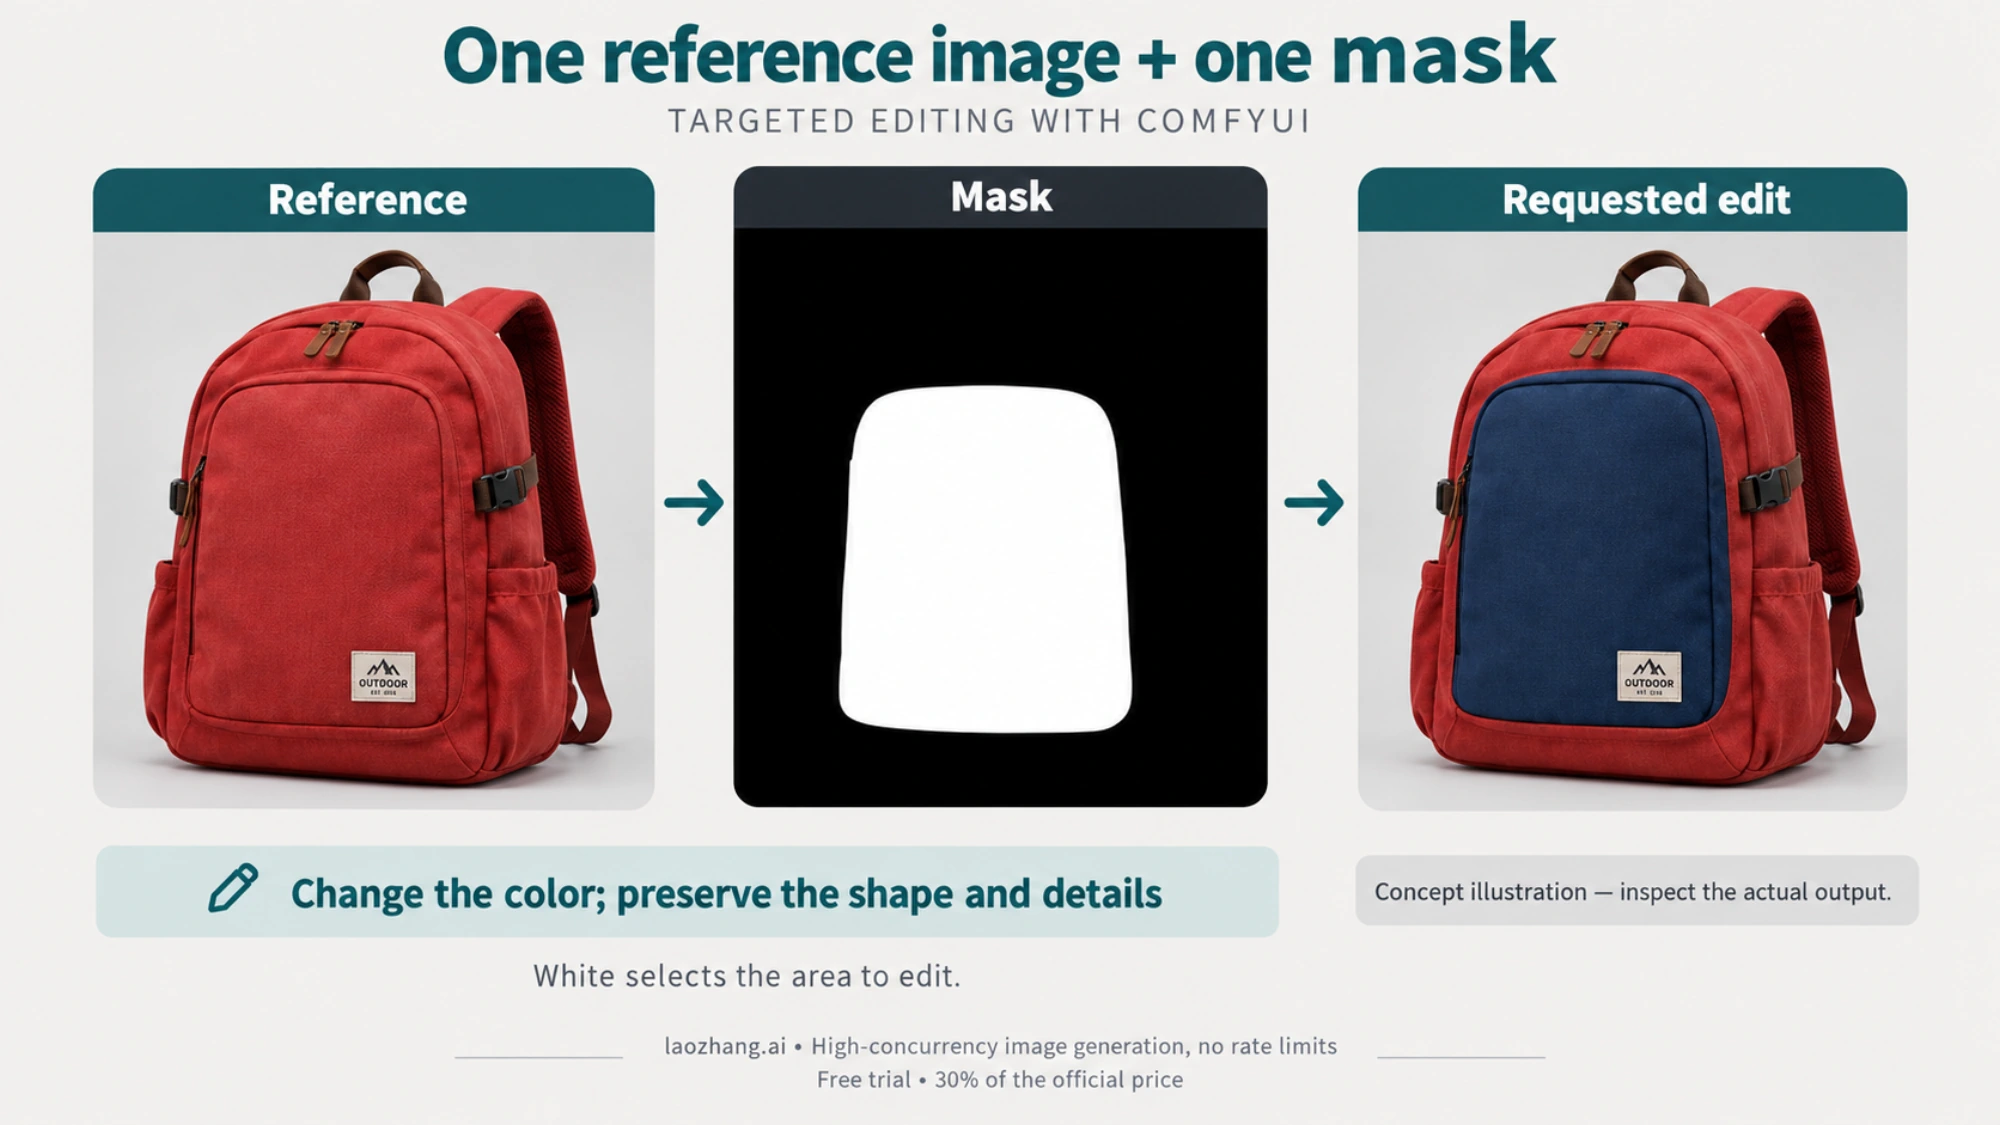
The current node accepts up to 16 reference images. Multiple references can supply additional visual information, but the optional mask has a stricter rule: a mask requires exactly one reference image. Simplify a failing masked edit to one image and one mask before investigating model behavior. Reference and mask input definitions
In ComfyUI's mask convention for this node, white marks the area to replace. Connect the mask alongside the single image and check its alignment before running. If you have read OpenAI examples that describe transparent mask pixels, the apparent mismatch comes from representation: the ComfyUI implementation converts its mask into image alpha before upload. Do not invert a correct ComfyUI mask just to make it resemble an API example. Mask conversion in the official implementation
A mask guides the edit; it is not a guarantee that every unmasked pixel remains identical. For production assets, compare the result with the reference and inspect the details your brief requires preserving. This check is particularly useful when the requested change sits near a logo, text, stitching, or a product boundary.
The source also resizes reference images above 2048 × 2048 total pixels before upload. That threshold is a pixel-area limit, not a promise that every reference retains its original detail. Keep this preprocessing in mind when evaluating very small features in a large source photograph. Reference preprocessing
Choose a valid size, not just a large number
Use a listed preset unless you have a specific reason to set custom dimensions. The node includes 3840x2160 and 2160x3840 presets. A square 3840x3840 image is not valid simply because each edge is within the maximum: the total pixel count also has to fit. Size controls and validation
For custom dimensions, the reviewed implementation applies these conditions together:
- Width and height must be multiples of 16.
- The custom widgets start at 480 pixels per edge, and neither edge may exceed 3,840 pixels.
- The long-to-short-edge ratio must be no greater than 3:1.
- The total area must be between 655,360 and 8,294,400 pixels.
| Requested size | Check against those constraints |
|---|---|
1024 × 1024 | Valid: 1,048,576 pixels and a 1:1 ratio |
2048 × 1152 | Valid: 2,359,296 pixels and a 16:9 ratio |
3840 × 2160 | Valid: 8,294,400 pixels, exactly the area ceiling |
3840 × 3840 | Invalid: 14,745,600 pixels exceeds the area ceiling |
480 × 480 | Invalid: 230,400 pixels falls below the area minimum |
The last example explains why an individual widget's minimum is not a valid complete image size. A width and height can each be accepted as numbers yet fail validation as a pair. If a request fails after choosing Custom, calculate width × height and the aspect ratio before changing credentials or reinstalling nodes.
A fixed seed does not make this node deterministic
The seed input in the reviewed implementation is not implemented by the image backend. Reusing its value therefore does not establish reproducible image generation. Do not promise a client the same pixels merely because you saved a seed. Seed behavior in the source
For useful comparisons, save the actual output image together with the prompt, exact model, quality, size, and reference files. Compare repeated attempts as separate outputs. Keeping the inputs consistent makes the comparison more interpretable, but it does not eliminate model variation.
Because the generation is remote, this node does not load the GPT Image 2.5 model weights onto your GPU. Other parts of the same graph—upscaling or local preprocessing, for example—can still consume local compute. Distinguish the Partner Node's requirements from those of the entire workflow.
When an imported workflow still fails
An unknown node, an authentication error, and a rejected image request need different fixes. Check them in that order: confirm the official node exists in your installed release, confirm the Comfy account setup and credits, then inspect model settings and connected inputs. For editing, temporarily use one image without a mask to reduce the number of moving parts.
If generation completes but no file appears, inspect the connection to Save Image and the output location. If a mask is rejected, check the reference count. If a custom size is rejected, check all four size rules together. Changing the seed will not repair any of these setup problems.
You may also encounter n8n tutorials that submit a ComfyUI workflow remotely. A 2025 Worldline tutorial, for example, describes a community integration for a different generation workflow. It is useful background on orchestration, but it does not establish that an old exported graph carries the authentication required by today's Partner Nodes. Before automating this graph from another application, first verify generation and saving inside ComfyUI, then verify the caller's documented account-authentication mechanism and how it detects completion.