Install and Configure Codex CLI on Windows, macOS, or Linux
Choose native Windows, WSL2, or a Unix install path, then verify the executable, billing owner, safe configuration, and first repository task.
On this page
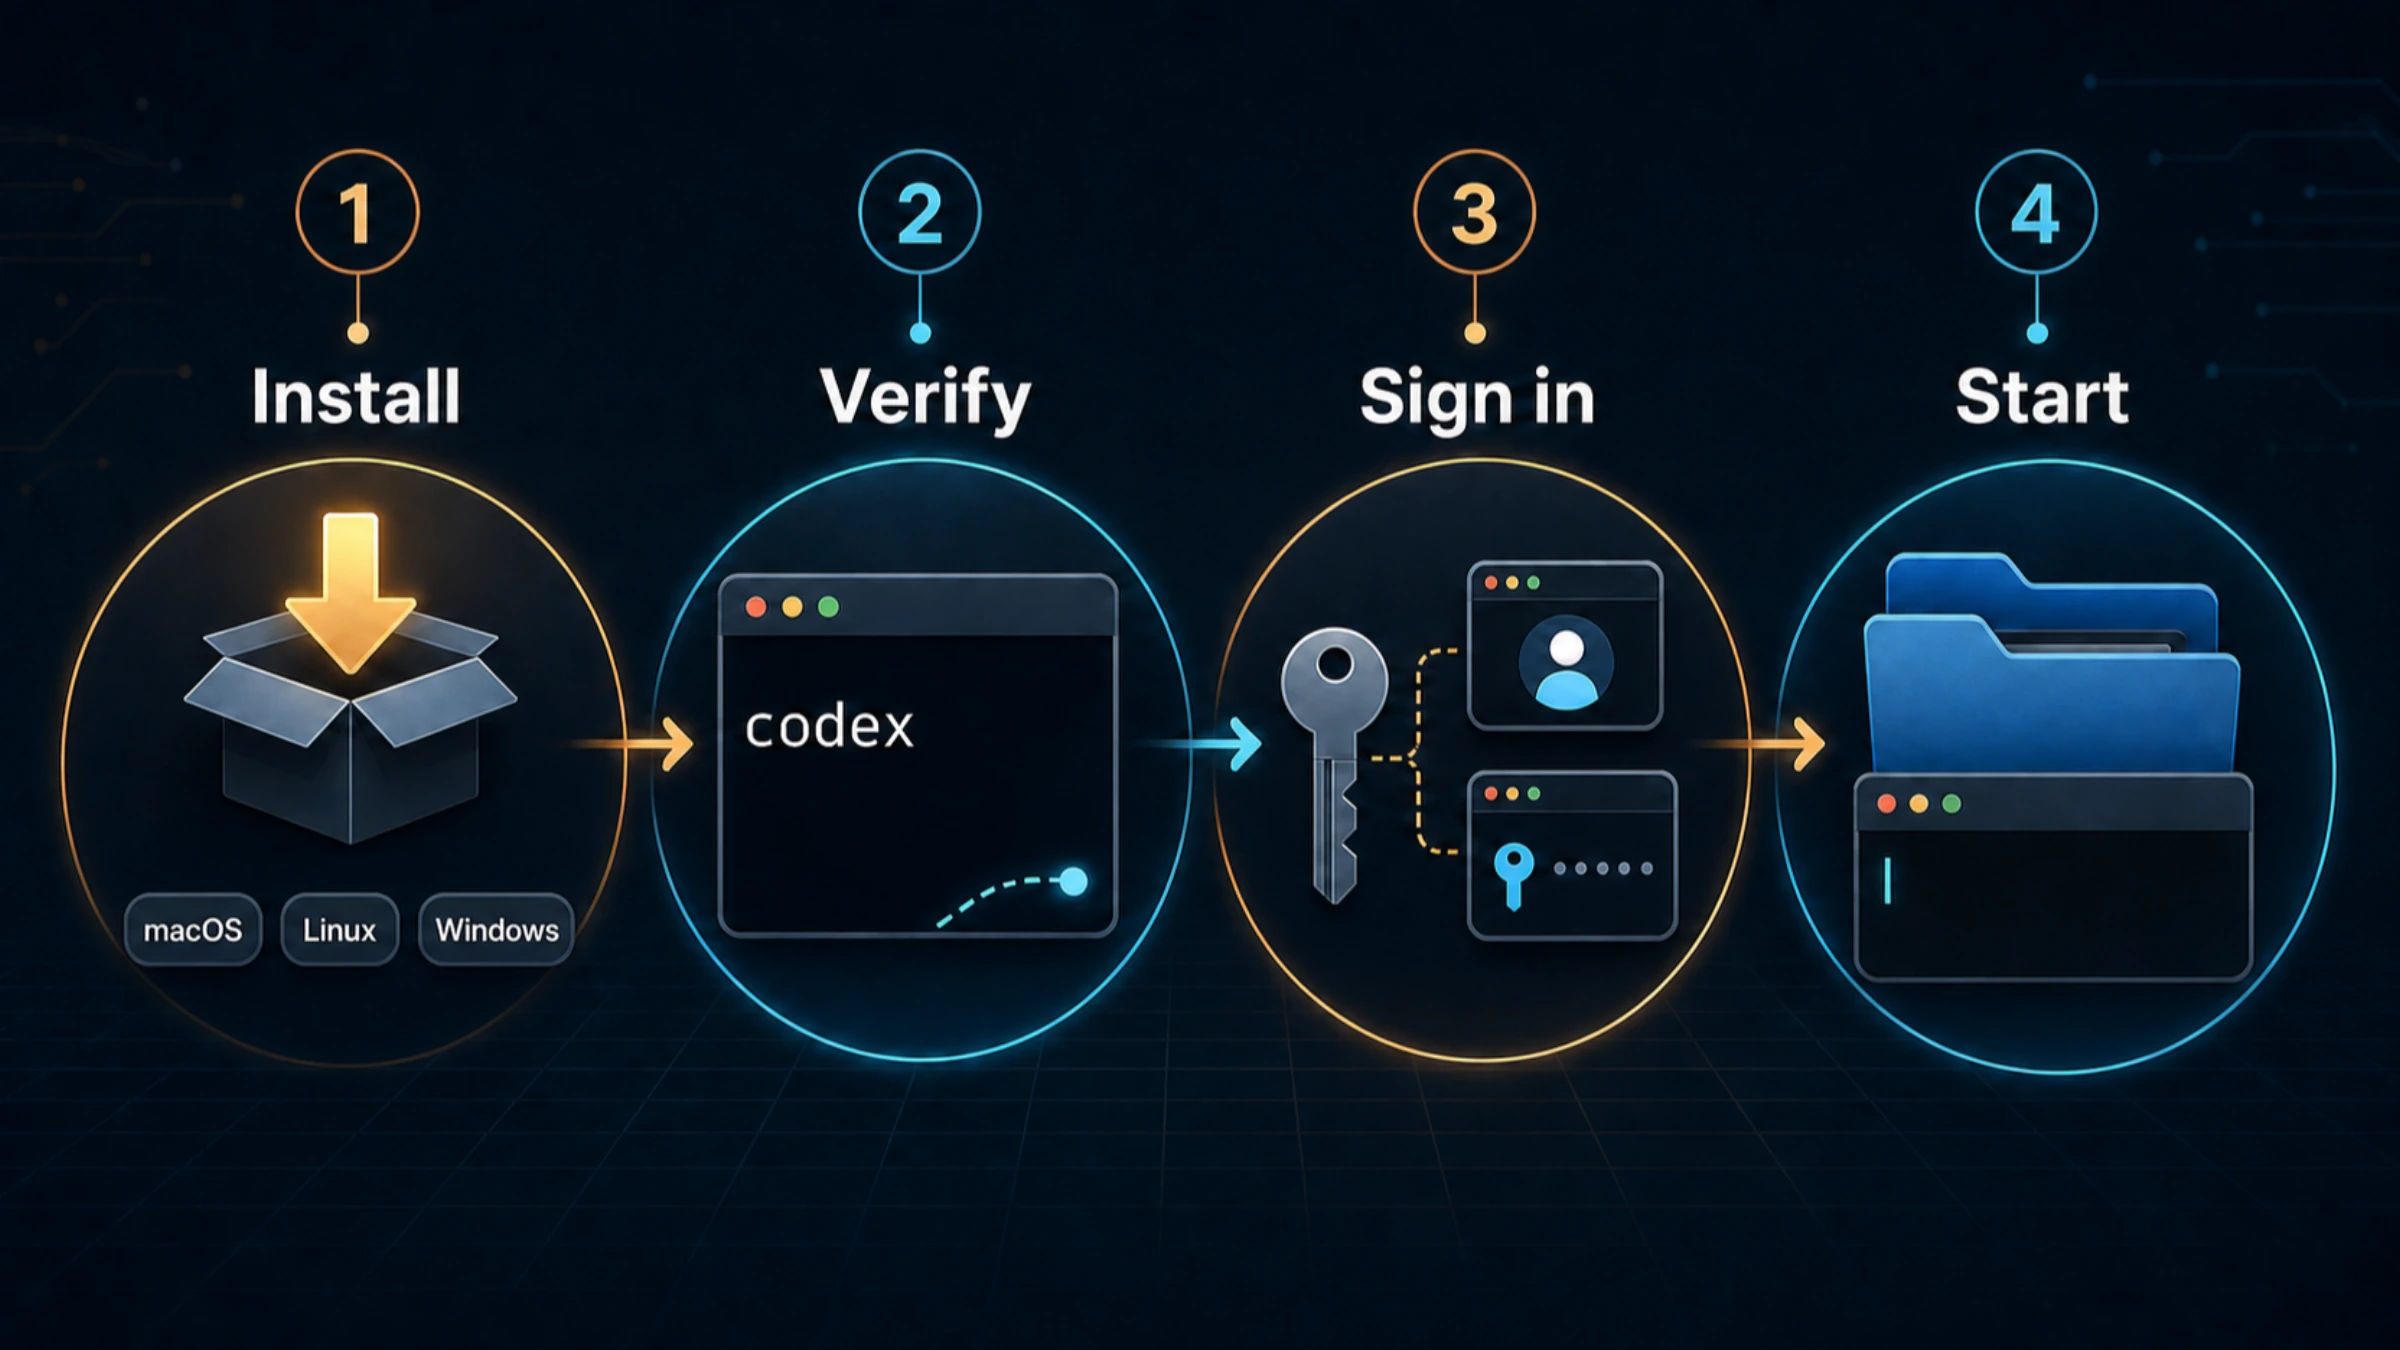
Windows no longer requires WSL or Node.js just to install Codex CLI. OpenAI provides a PowerShell standalone installer, while WSL2 remains useful when the repository and toolchain already live in Linux. macOS and Linux have their own standalone installer; npm and Homebrew are alternatives rather than universal prerequisites.
A usable setup means more than a completed download: your shell resolves the intended binary, authentication belongs to the intended billing account, configuration preserves a sensible permission boundary, and Codex can read the repository you actually mean to use. The commands below were checked against OpenAI's official documentation on September 1, 2026. If a command here and the current documentation disagree, follow the official page.
Choose one installation method
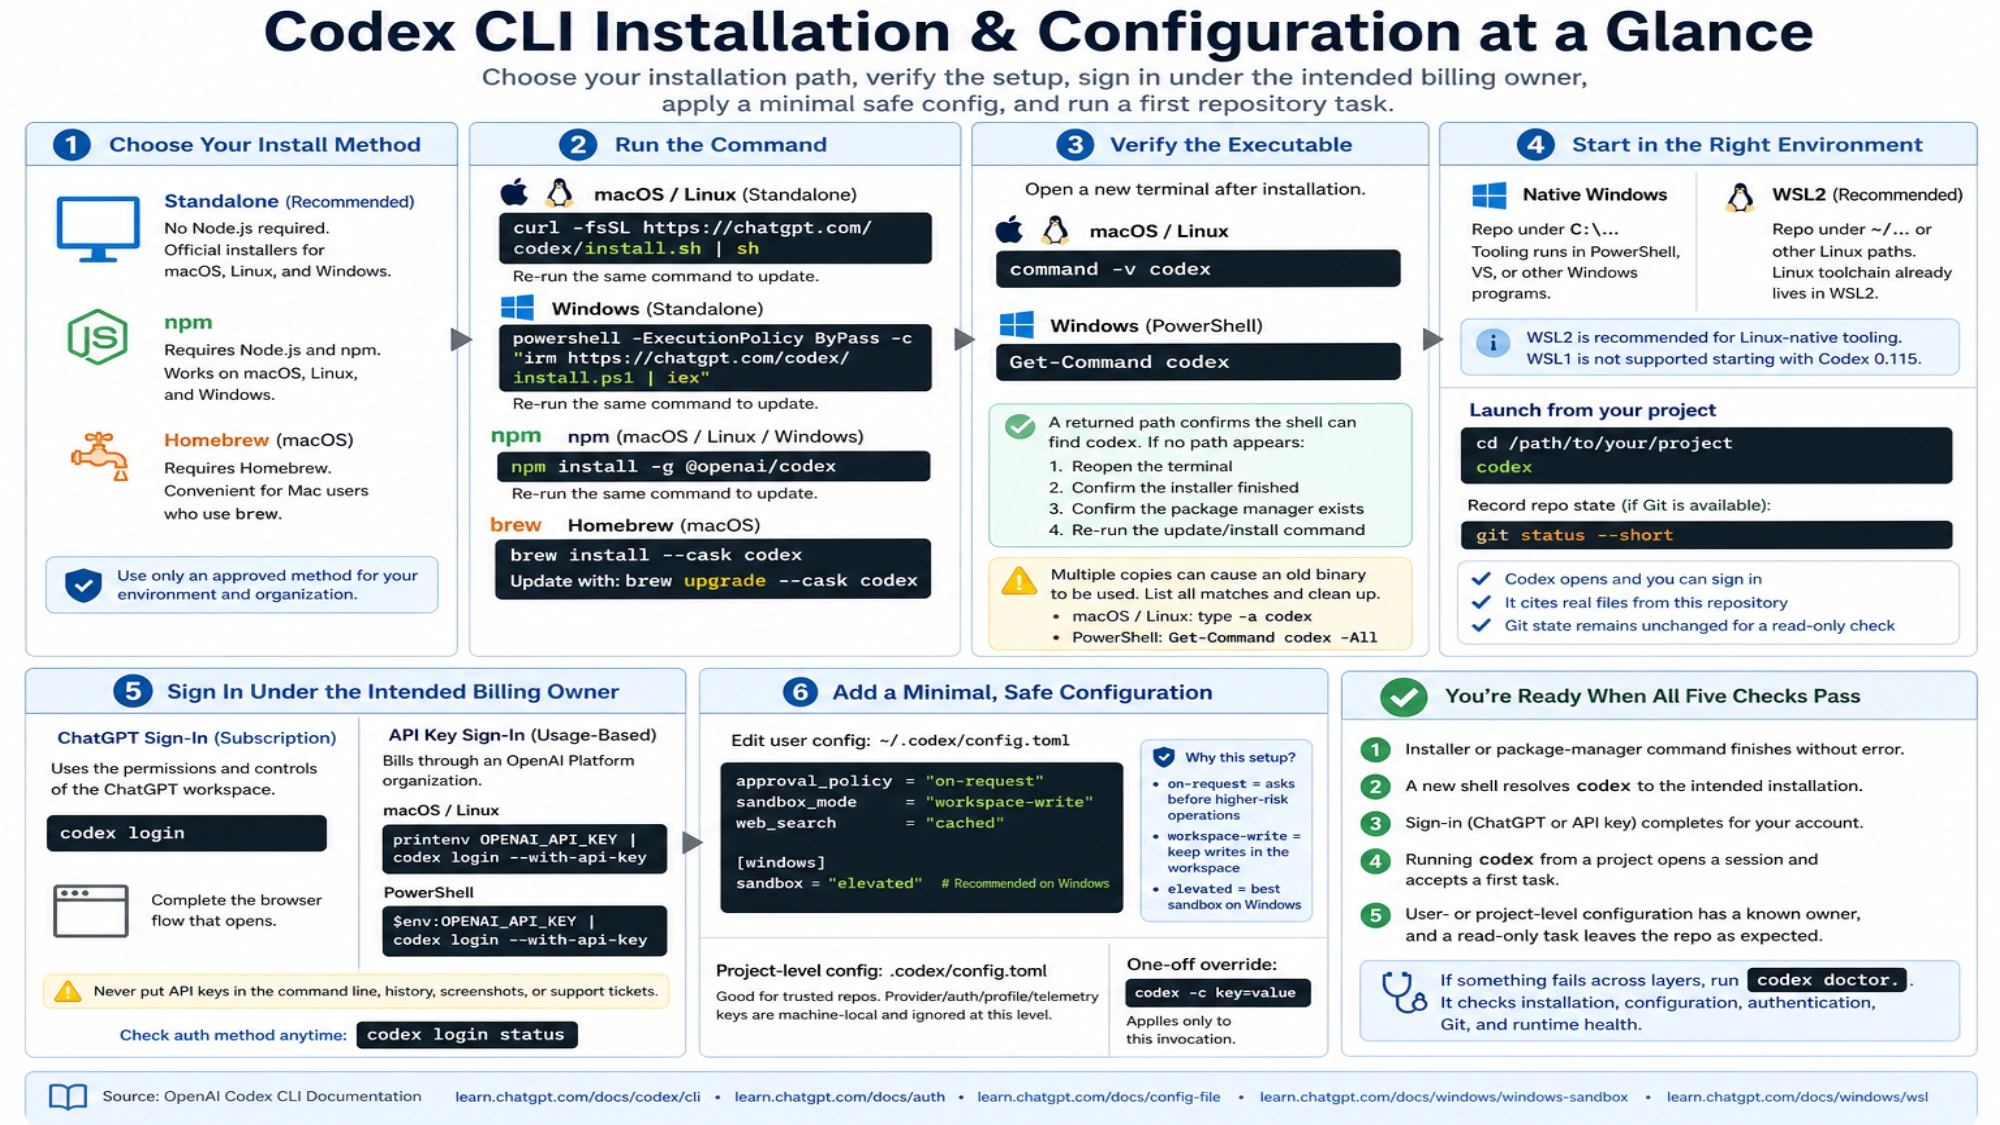
OpenAI currently offers standalone installers for macOS/Linux and Windows, plus npm and Homebrew options. The official Codex CLI getting-started page is the source for all four methods below.
Use a standalone installer when you want the platform-specific route without making a package manager part of the setup. Use npm if Node.js and npm are already part of your developer environment. Homebrew is a convenient macOS option for people who already manage command-line software with brew.
Do not install through several methods "just in case." Multiple copies can leave your shell resolving an older binary even after another copy has been updated.
- macOS or Linux without a package-manager preference: Choose the standalone installer. It needs a shell with
curl. - Windows PowerShell: Choose the standalone installer. It needs PowerShell.
- macOS, Linux, or Windows with npm already available: Choose npm. This route requires Node.js and npm.
- macOS with Homebrew already available: Choose Homebrew. This route requires Homebrew.
Node.js is required for the npm route, not for every Codex CLI installation.
Run the command for your platform
The standalone commands below download and execute a remote script immediately. Confirm that the URL is on chatgpt.com before running it, and use only an installation method approved by your organization on a managed device.
macOS and Linux standalone installer
Run the official shell installer:
curl -fsSL https://chatgpt.com/codex/install.sh | shThe same command updates an installation made through this standalone route:
curl -fsSL https://chatgpt.com/codex/install.sh | shWindows standalone installer
Open PowerShell and run:
powershell -ExecutionPolicy ByPass -c "irm https://chatgpt.com/codex/install.ps1 | iex"OpenAI documents the same command for updating the Windows standalone installation:
powershell -ExecutionPolicy ByPass -c "irm https://chatgpt.com/codex/install.ps1 | iex"The ByPass setting in this command applies to that PowerShell process. If an organization manages your device, its security policy may still block script execution. Do not weaken an organization-wide policy to force the installer through; ask the administrator which installation path is approved.
npm
If you deliberately chose the npm method, install the package globally:
npm install -g @openai/codexOpenAI currently gives the same command for updating the npm installation:
npm install -g @openai/codexIf npm itself is unavailable, that is an npm-method prerequisite failure. Either install a suitable Node.js/npm environment or return to the standalone method; it does not mean every Codex installation needs Node.js.
Homebrew
On a Mac that already uses Homebrew, install the cask:
brew install --cask codexUpdate that installation with:
brew upgrade --cask codexKeep the updater paired with the installer you selected. A Homebrew install should be updated with Homebrew; an npm install should be updated with npm.
Verify the executable before troubleshooting sign-in
First, open a new terminal after installation. A newly installed executable may not be visible to a shell that was already running.
On macOS or Linux, ask the shell which executable it will run:
command -v codexOn PowerShell, use:
Get-Command codexA returned path is a local diagnostic, not proof that authentication or service access works. It only shows that the current shell resolves a command named codex.
If no path appears, stay at the installation layer:
- Close and reopen the terminal, then run the check again.
- Confirm that the installer finished without an error.
- Confirm that the package manager used for installation is available in this shell.
- Re-run the update or install command for the same method.
If the shell finds a path but it appears to be an older installation, look for duplicates before adding more software. On macOS or Linux, type -a codex can show every matching command on the current path. In PowerShell, use Get-Command codex -All. Remove or update the copy you no longer intend to use according to the tool that installed it.
On Windows, decide which environment owns the repository
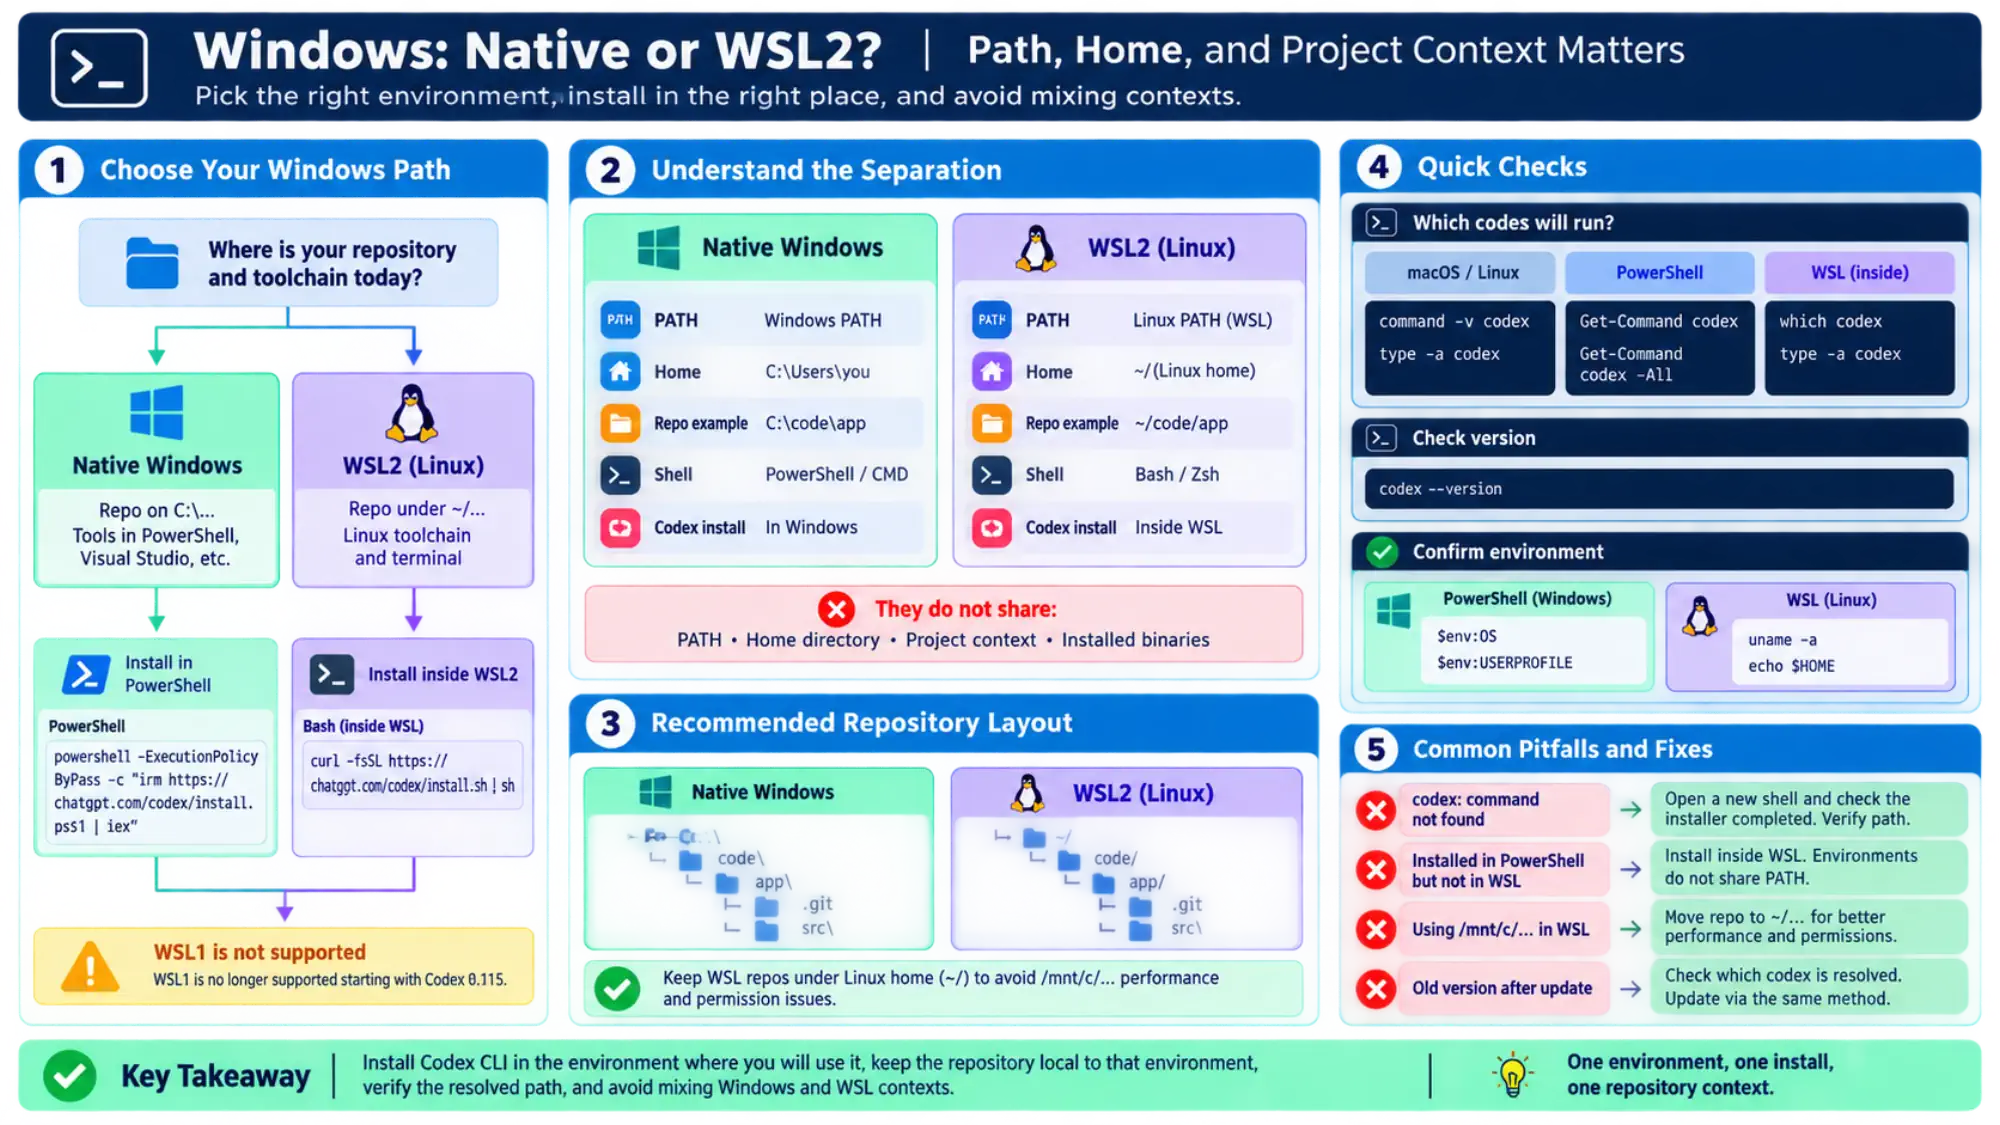
Use native Windows when the repository is under C:\\... and the daily toolchain runs in PowerShell, Visual Studio, or other Windows-native programs. Install inside WSL2 when the repository is under a Linux path such as ~/code/app and its compilers, package managers, and terminal workflow already run there.
OpenAI's WSL guidance recommends WSL2 for Linux-native tooling or a workflow already based in WSL. It also notes that WSL1 is no longer supported starting with Codex 0.115. If you choose WSL2, keeping the repository under the Linux home directory generally avoids the performance and permission friction of /mnt/c/....
Native and WSL installations do not share one PATH, home directory, or project context. Install from the environment where you will launch Codex; do not install in PowerShell and assume the command automatically exists inside WSL.
Start Codex from the project you mean to change
Open a terminal in a real project directory, then launch Codex:
cd /path/to/your/project
codex
OpenAI's official first-run flow starts in a project directory, asks the user to choose an available sign-in method, and then accepts a task. Starting in the intended directory matters because it gives the session the correct local context.
Before launching, record the repository state when Git is available:
git status --shortFor a low-risk first check, ask Codex to explain the project without modifying files rather than immediately requesting a broad rewrite. After the answer, run git status --short again. You should be able to see the CLI open, finish authentication if required, cite real files from the current repository, and leave the pre-existing worktree state unchanged. Those are separate observations:
- The shell resolves
codex: installation and command discovery are working. - The Codex interface opens: the binary starts in the current environment.
- A task begins after sign-in: authentication and the initial local session are working.
- The answer matches the repository and Git remains unchanged: the working directory and first-task boundary are correct.
This separation prevents an account or network problem from being misdiagnosed as a failed installer.
Choose a sign-in path intentionally
For local Codex CLI work, OpenAI documents two sign-in models: ChatGPT sign-in for subscription access and API-key sign-in for usage-based access. The current commands and account boundaries are described in the official authentication documentation.
Sign in with ChatGPT
Run:
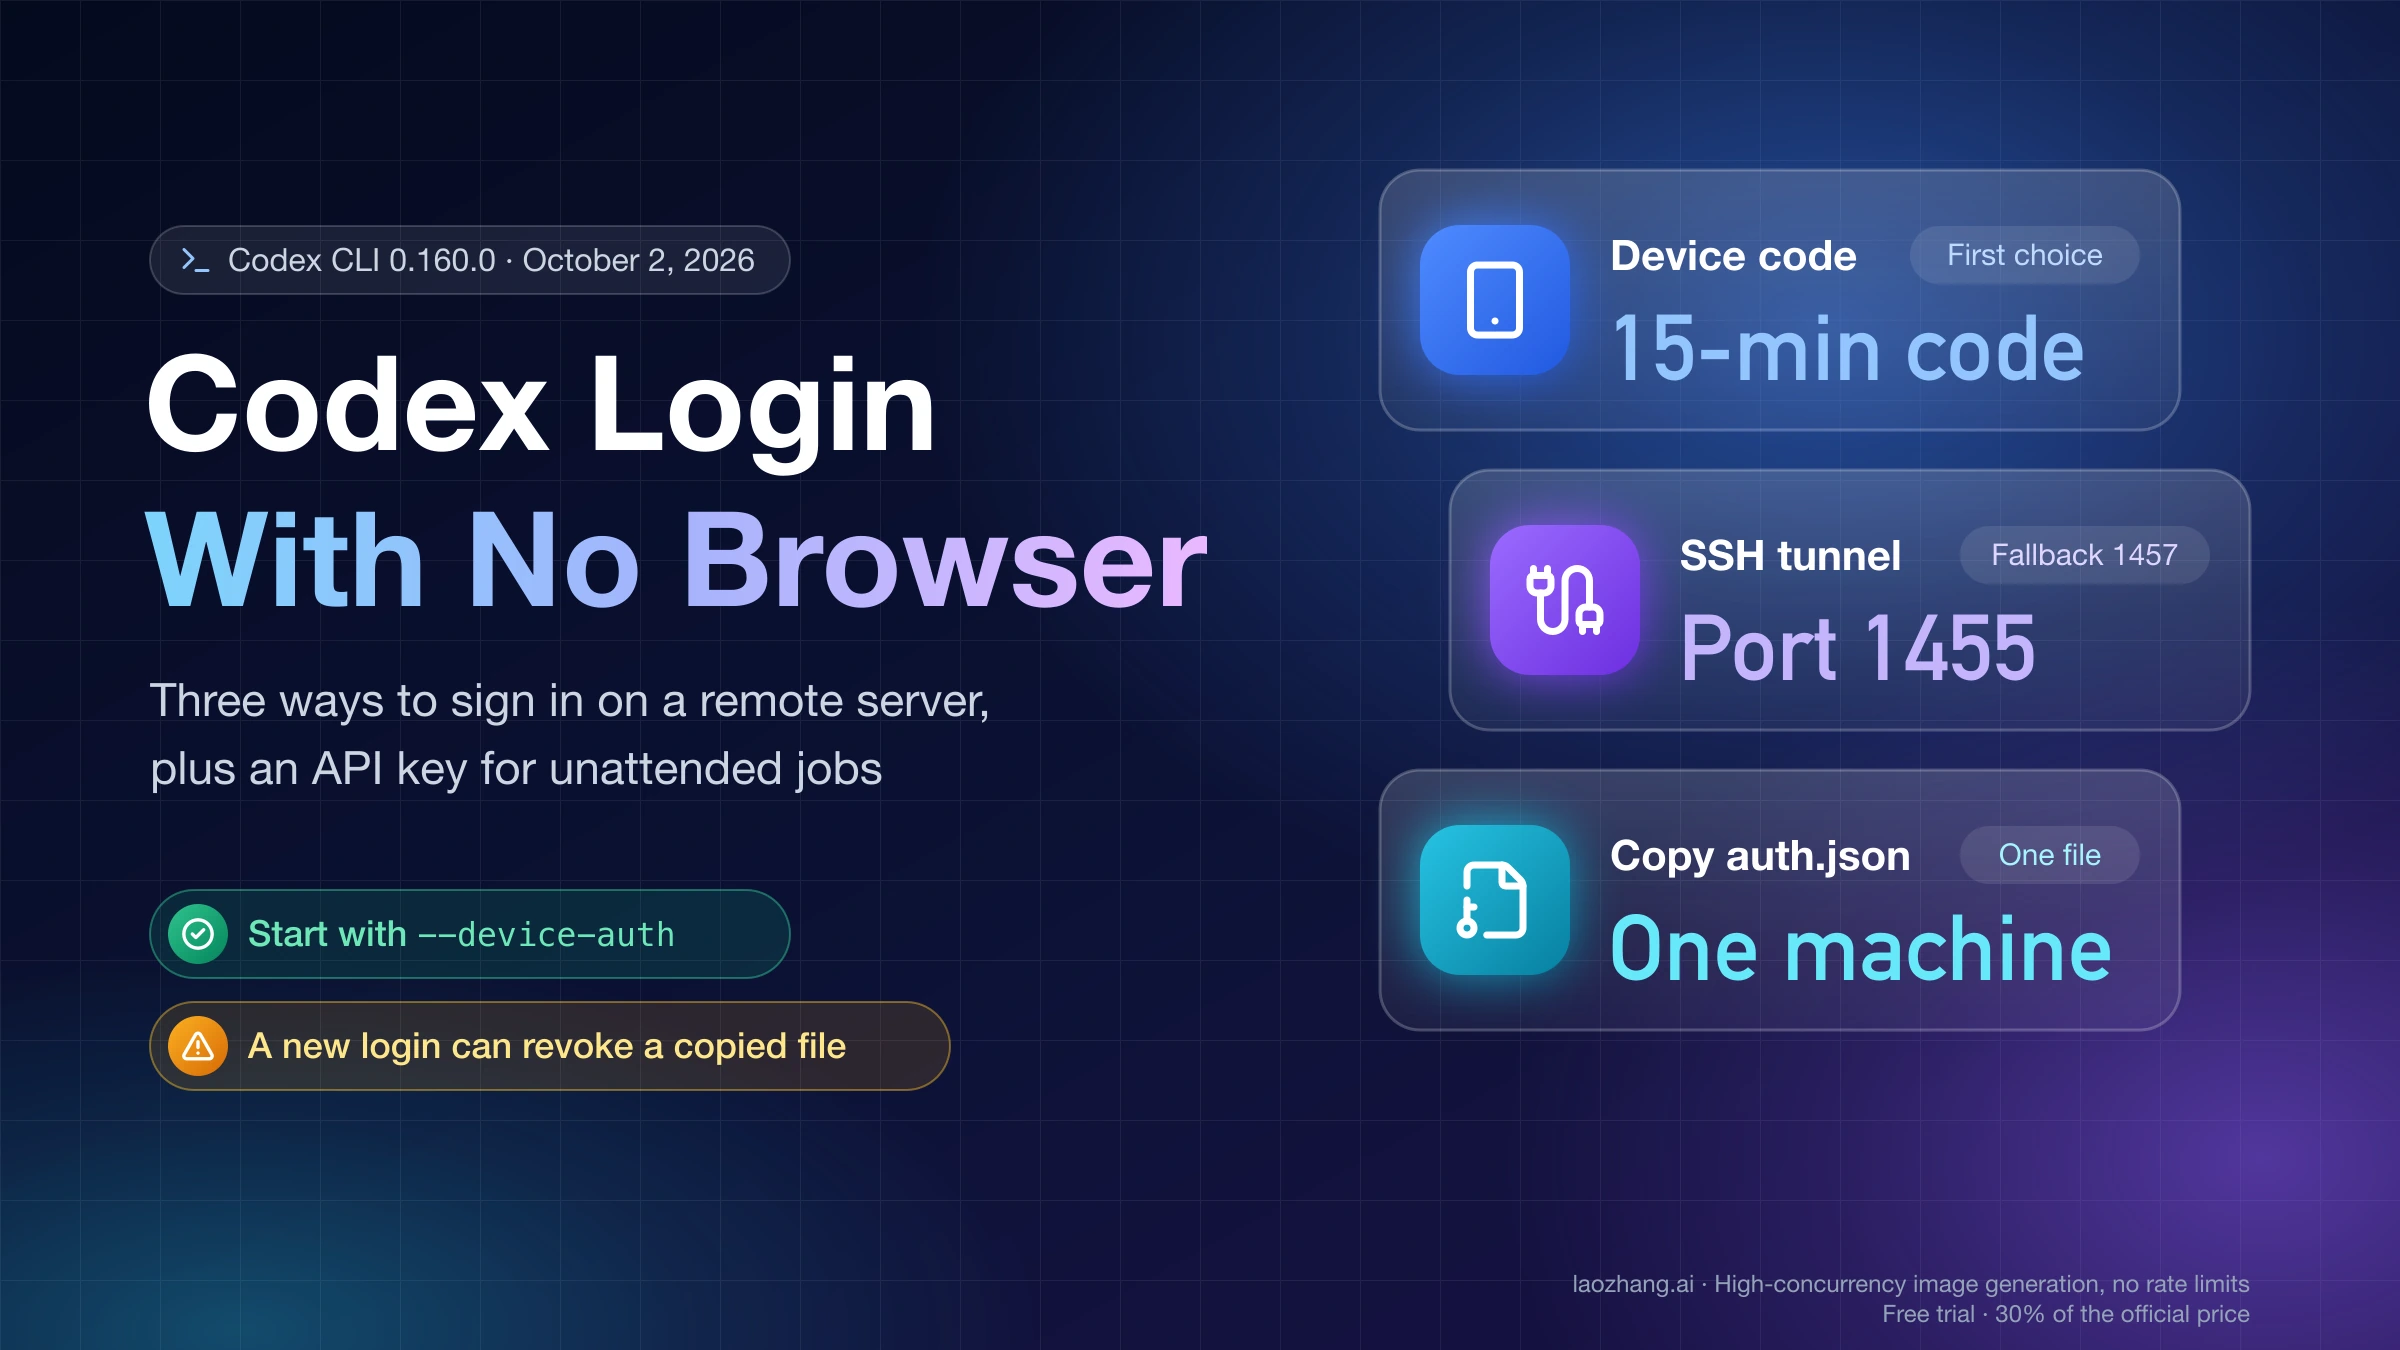
codex loginComplete the browser flow that opens. This path uses the permissions and controls of the ChatGPT workspace you select. In a managed workspace, successful browser authentication does not override membership, role, seat, or administrator restrictions.
Sign in with an API key
If you intentionally want usage billed through an OpenAI Platform account, place the key in OPENAI_API_KEY and pipe it through standard input. In a macOS or Linux shell, use:
printenv OPENAI_API_KEY | codex login --with-api-keyIn PowerShell, use:
$env:OPENAI_API_KEY | codex login --with-api-keyAvoid putting the literal secret in the command line, terminal history, screenshots, or support messages. API-key authentication follows the OpenAI Platform organization's billing and data controls; it is not the same entitlement path as a ChatGPT subscription.
Run codex login status whenever you need to confirm which authentication path is active. Stored credentials may be kept in ~/.codex/auth.json or an operating-system credential store. Treat a file-based auth.json like a password: never commit it, paste it into a ticket, or copy another person's cache as a login fix.
Add a small configuration before adding features
User-level configuration lives in ~/.codex/config.toml. OpenAI's current Config basics and configuration reference support a restrained starting point such as:
approval_policy = "on-request"
sandbox_mode = "workspace-write"
web_search = "cached"
workspace-write keeps ordinary writes within workspace boundaries; on-request preserves an approval step when more access is needed. Do not start by bypassing approvals or the sandbox merely to eliminate prompts.
When Codex runs natively on Windows, add the preferred native sandbox implementation at the user level:
[windows]
sandbox = "elevated"
The Windows sandbox documentation describes elevated as the preferred mode. It requires administrator-approved setup for restricted users, filesystem boundaries, and firewall rules. Use unelevated as a weaker fallback when local or enterprise policy prevents that setup, not as an automatic shortcut.
A trusted repository may contain .codex/config.toml for settings that genuinely belong to the project. Provider, authentication, profile, notification, and telemetry keys are machine-local and are ignored at the project layer. For a one-off experiment, codex -c key=value overrides the value for that invocation; this is useful for diagnosis because it does not silently rewrite a persistent file.
If a configuration change appears to do nothing, first identify the active user, CODEX_HOME, trusted project, and any command-line override. Then use the dedicated config troubleshooting guide rather than deleting the entire .codex directory.
Diagnose the layer that actually failed
codex: command not found or PowerShell cannot find the command
This is still a command-discovery problem. Reopen the shell, confirm the matching installer completed, and inspect the resolved path. Do not spend time changing account settings until the shell can invoke codex.
codex opens, but browser sign-in does not complete
The binary is installed. Retry the documented codex login flow and check whether the browser can return to the CLI. Corporate proxies, local callback restrictions, or managed workspace policy can affect authentication independently of installation. Preserve the exact error text when asking an administrator or OpenAI support for help.
Authentication succeeds, but the first task cannot start
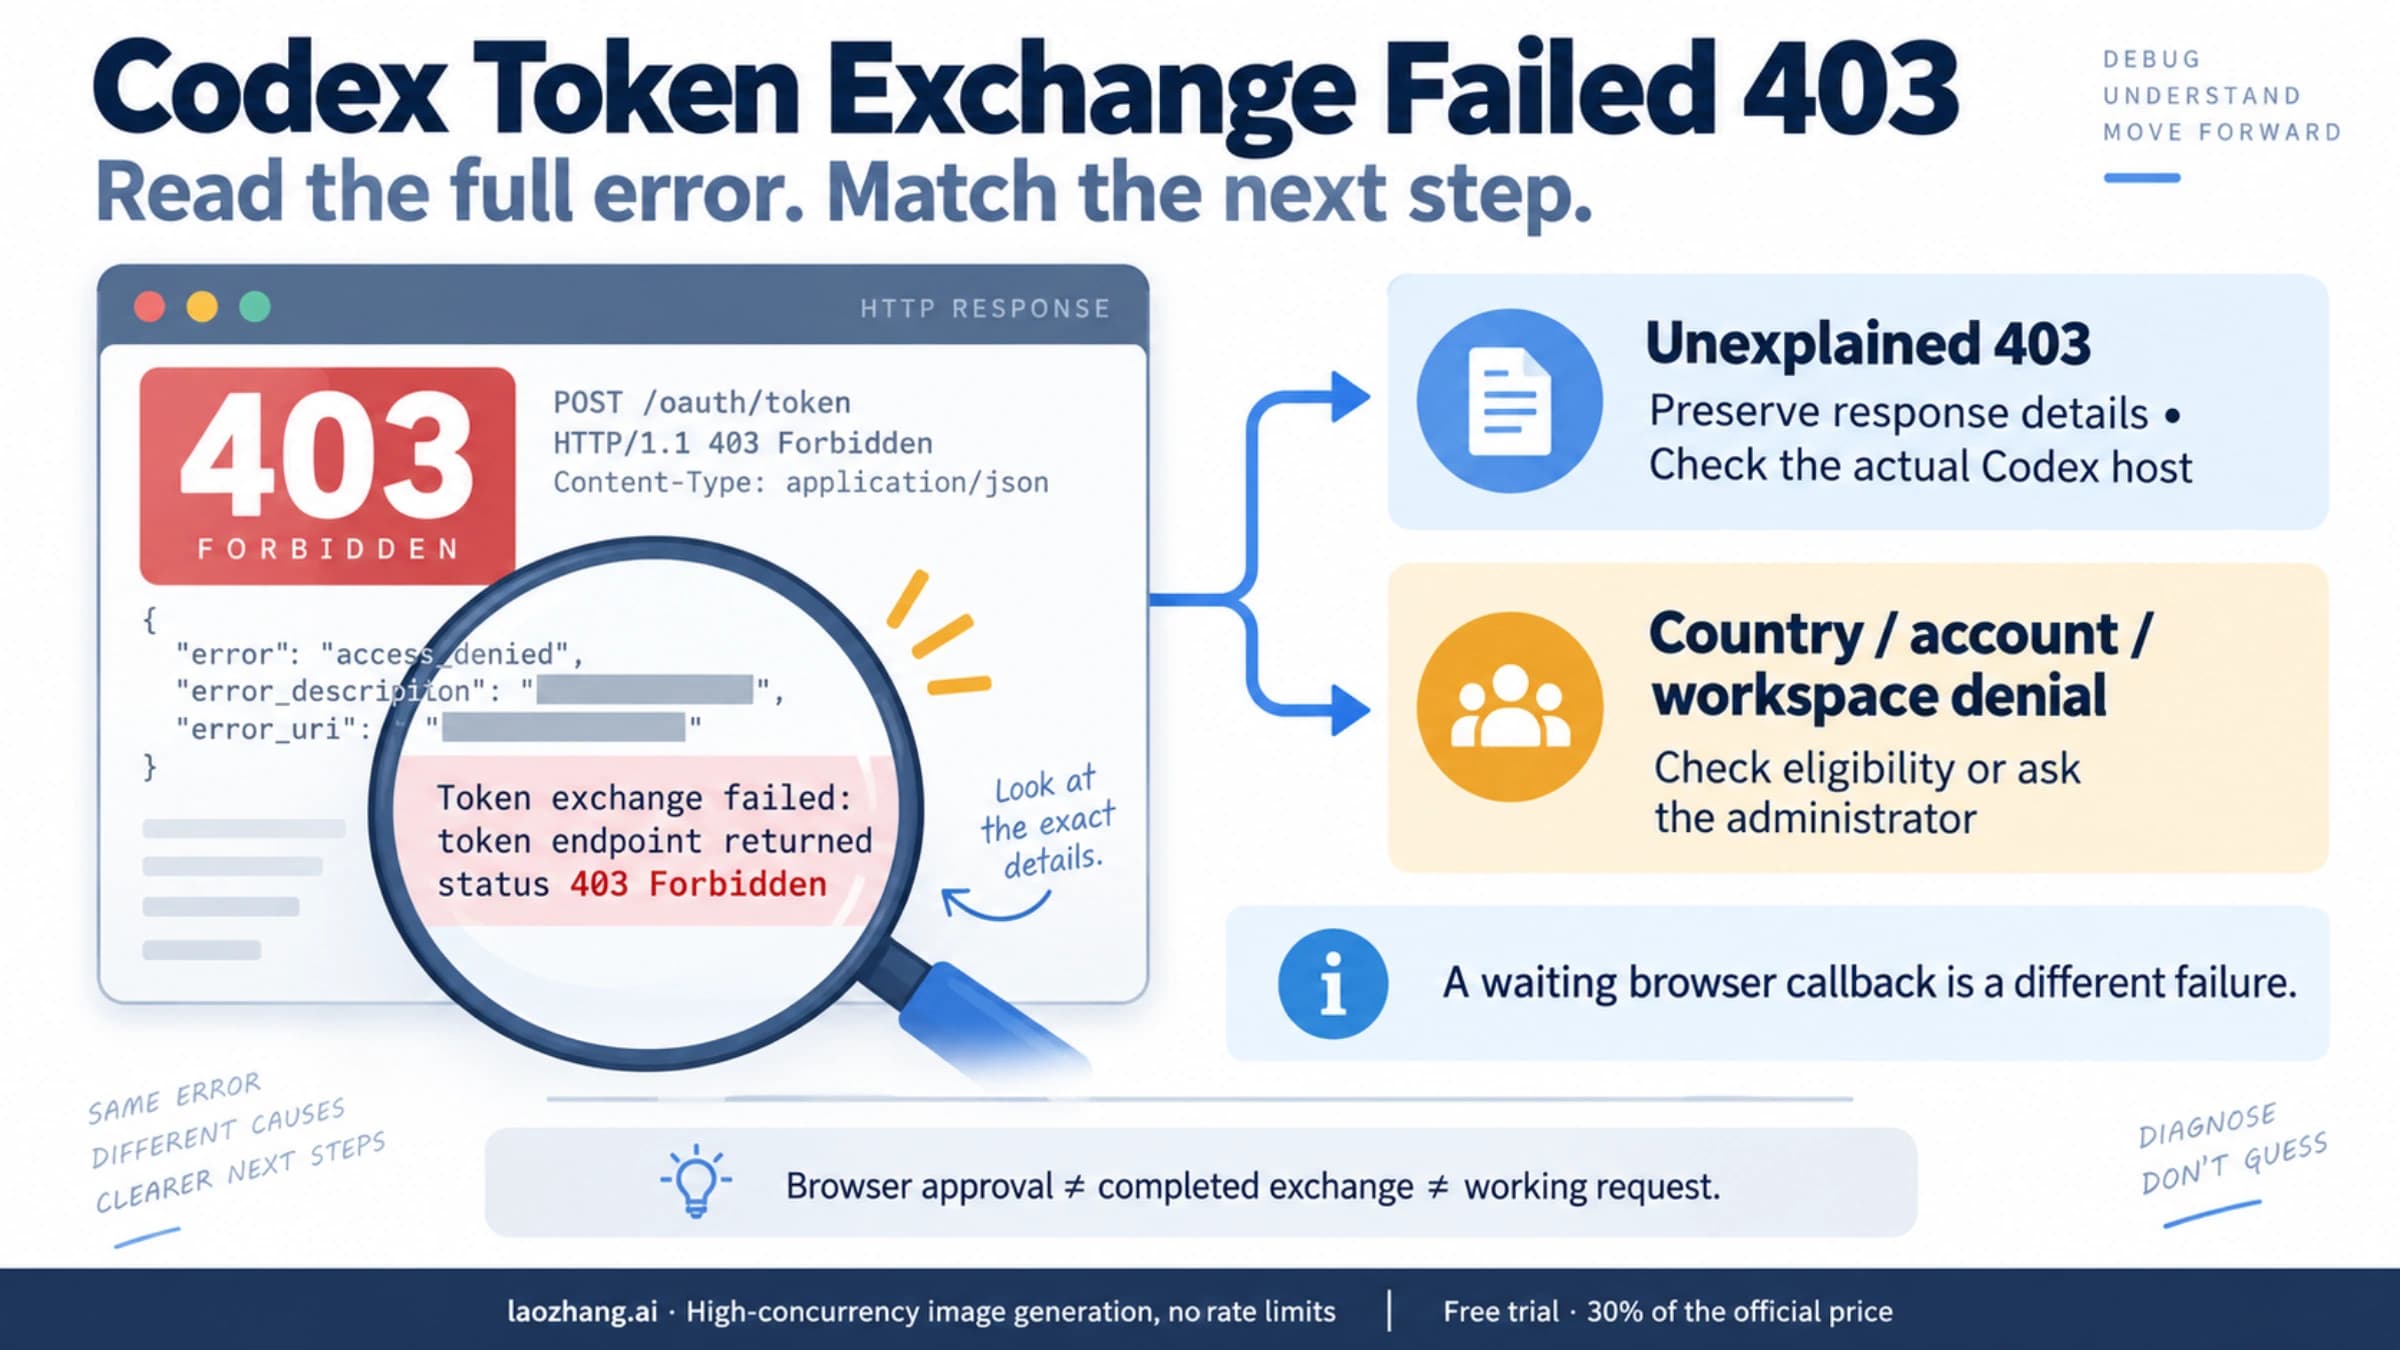
Treat this as a later boundary. Check the selected account or workspace, organization policy, network access, and current service availability. Reinstalling the executable repeatedly is unlikely to solve a restriction that appears only after authentication.
Native Windows commands fail after configuration
Check whether Codex reports the elevated or unelevated sandbox, whether the workspace is readable, and whether enterprise policy blocked user, firewall, or logon-right setup. Grant a specific required directory rather than switching the entire session to unrestricted access.
Updating appears to leave the old CLI in place
Confirm which executable the shell resolves, then update through the method that installed that copy. Duplicate npm, Homebrew, and standalone installations are one possible explanation for seeing an unexpected binary after an apparently successful update; the path check tells you whether that explanation fits your machine.
Your installation is complete when all five checks pass
Stop treating setup as complete only when you can observe each boundary:
- The official installer or package-manager command finishes without an error.
- A newly opened shell resolves
codexto the intended installation. codex loginor the API-key flow completes for the account you intend to use.- Running
codexfrom a project directory opens a session and accepts a first task. - User- or project-level configuration has a known owner, and the first read-only task leaves the repository in its expected state.
If a failure crosses several layers, the current CLI reference documents codex doctor, which checks installation, configuration, authentication, Git, and runtime health. Review diagnostic output for local paths or secrets before sharing it.
Once all five checks pass, the CLI is installed and configured. You can add models, MCP servers, profiles, or automation later, one requirement at a time, without obscuring a working baseline.
Sources6
External pages this guide links to, in the order they appear. Last updated Sep 1, 2026.
Sources6
External pages this guide links to, in the order they appear. Last updated Sep 1, 2026.
- 1.official Codex CLI getting-started pagelearn.chatgpt.com/docs/codex/cli
- 2.WSL guidancelearn.chatgpt.com/docs/windows/wsl
- 3.official authentication documentationlearn.chatgpt.com/docs/auth
- 4.Config basicslearn.chatgpt.com/docs/config-file/config-basic
- 5.configuration referencelearn.chatgpt.com/docs/config-file/config-reference
- 6.Windows sandbox documentationlearn.chatgpt.com/docs/windows/windows-sandbox